Inoculation 💉
Now we inoculate our sterilized grain with our live culture. To do this you will need to operate in a sterile environment to avoid infecting your grain with any contaminants. There are two main ways to achieve this:
Supplies
- Laminar Flow Hood
- Still Air Box
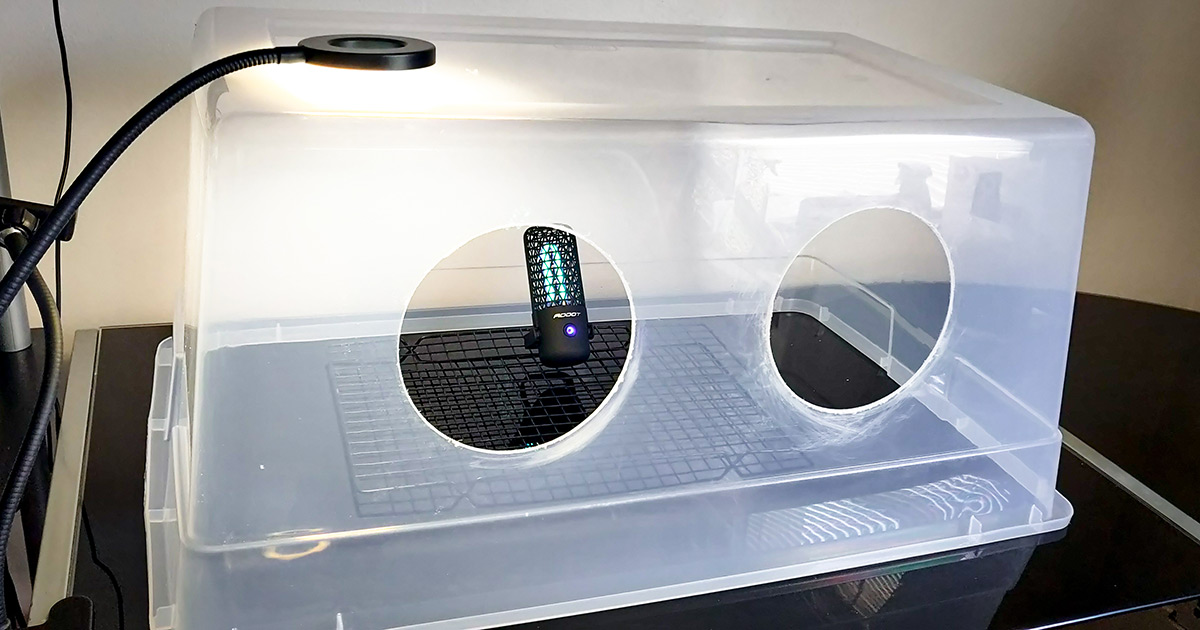
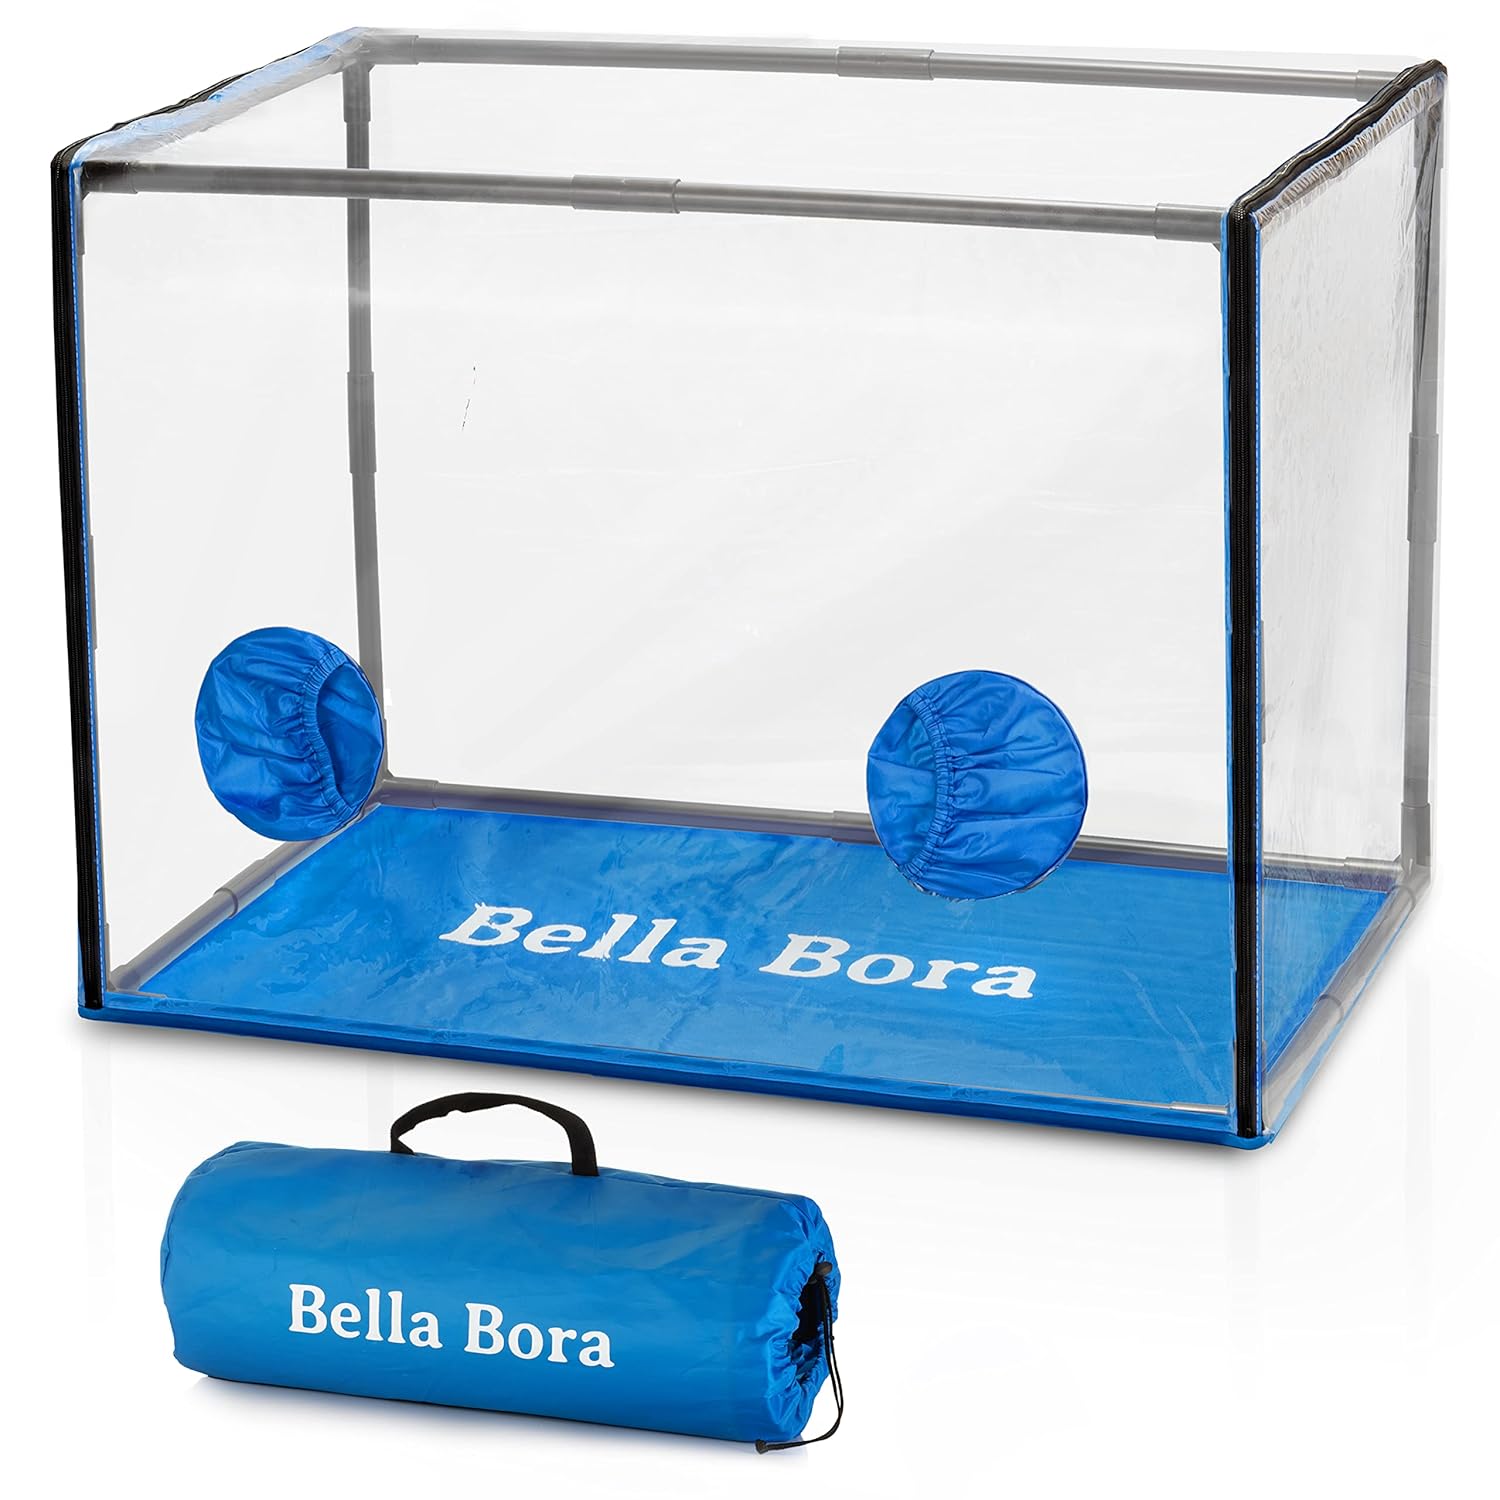
A Laminar flow hood is ideal, but it can be very expensive. A still air box on the other hand is much cheaper and can be bought or built out of a large Sterilite tub. I have done both and recommend buying a still air box rather than building one as they offer better visibility and are easier to work with. However, if you are on a tight budget building your own will work fine.
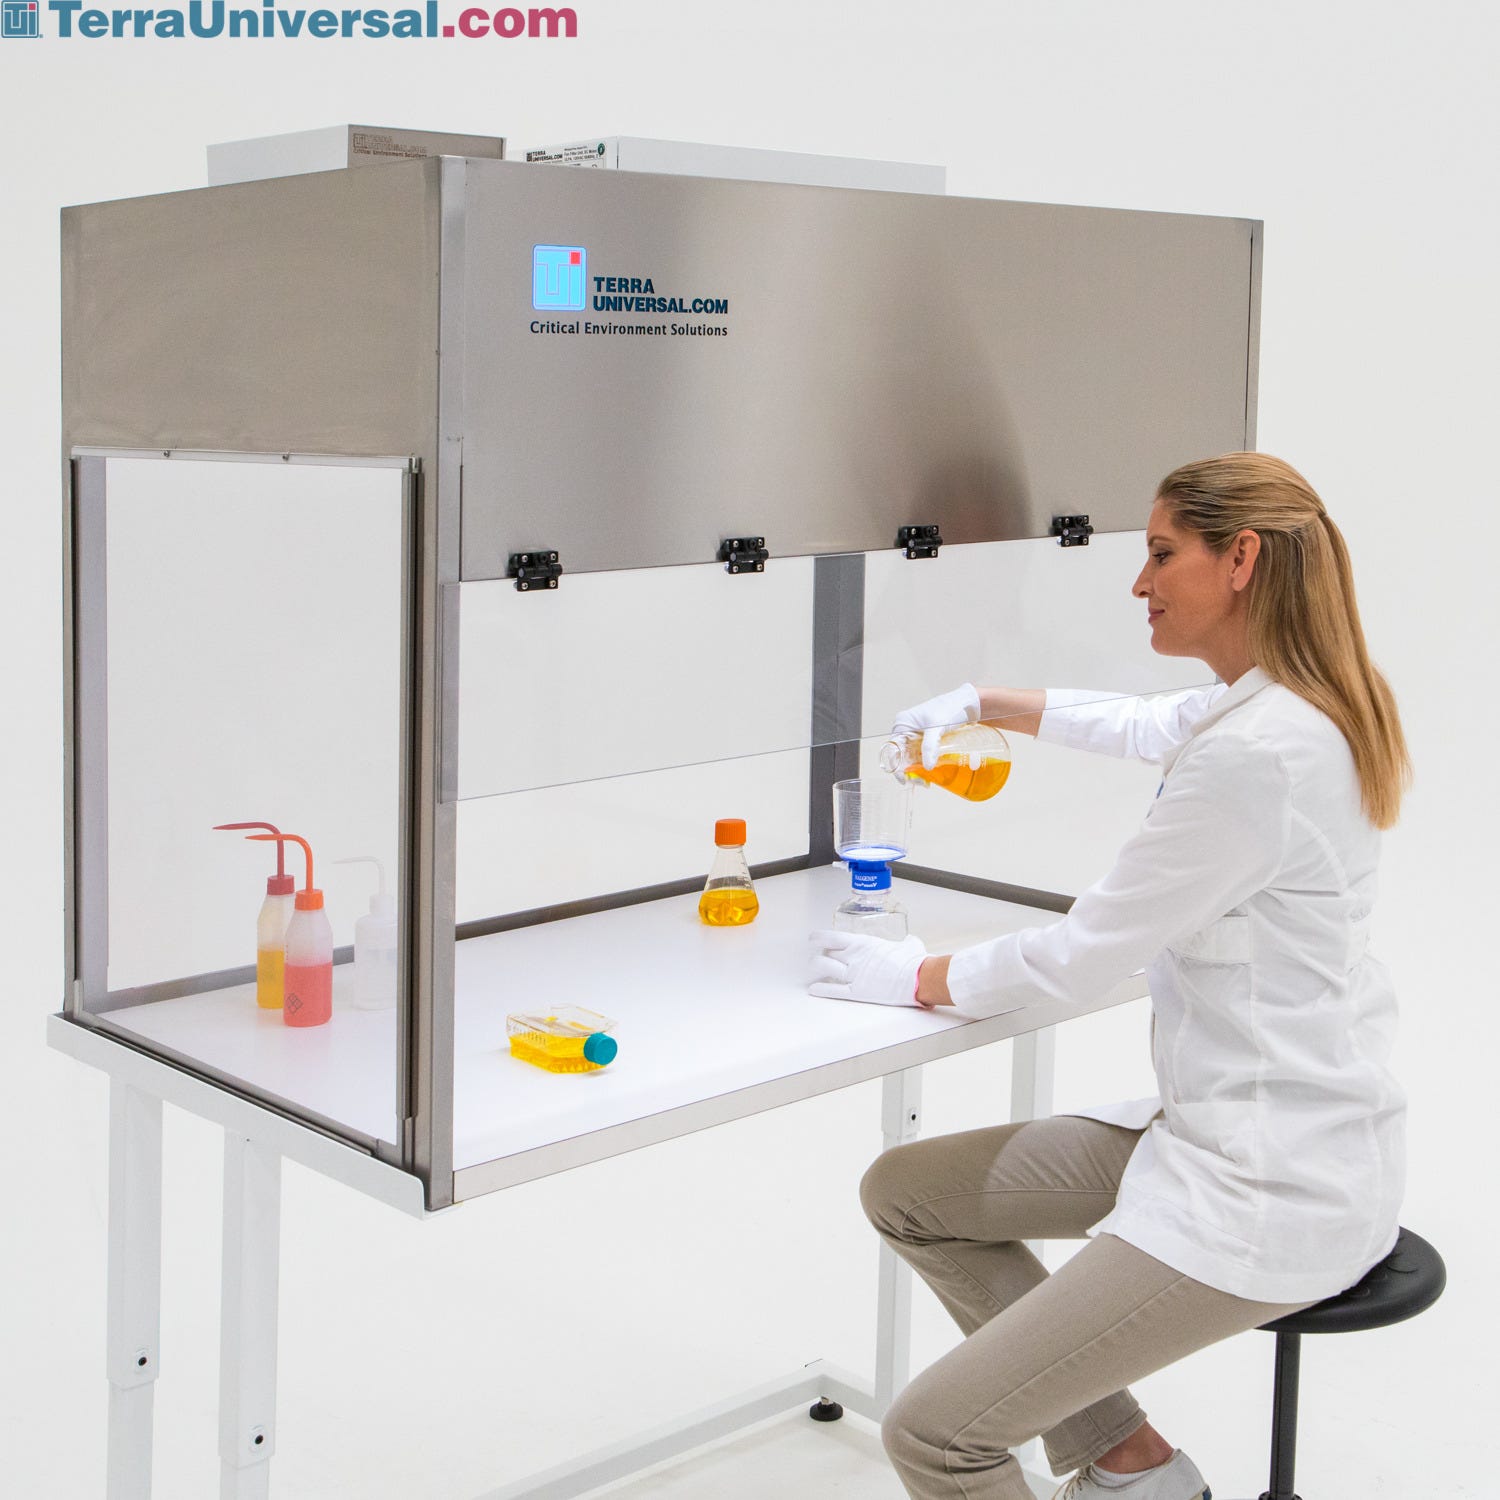
Still Air Box
Here are some great resources for building still air boxes
And here are some options for purchasing still air boxes
Inoculating your grain in a still air box
Step 1: Preparing the Still Air Box
Now that you have your SAB (Still Air Box) you can prepare it for inoculating your grain. PhillyGoldenTeacher has a great video walkthrough of what this process looks like here which I have summarized below.
- Wipe down SAB with 70% Isopropyl alcohol
- Wipe down all materials (Liquid Culture & Grain Jars) and place inside of still air box
- Close up SAB & wait for it to settle for 10-20 minutes.
Step 2: Inoculating your grain spawn
With a hopefully sterile and rested SAB, you are ready to move on to inoculating your grain. You will want to move slowly and with precision to avoid wasted movements and spreading around potential contaminants.
- Flame sterilize your LC syringe OUTSIDE OF YOUR SAB. Do not do it inside or you could ignite your SAB from the ISO fumes. Seriously!!
- Inject the LQ into your grain spawn. This can be done through your injection port if using a modified lid or a bag with an injection port. Otherwise, carefully remove your lid partially, squirt a little LC in (Around 2.5 cc/ml for a quart-sized mason jar), and put the lid back on.
- Repeat all steps for each jar.
Step 3: Label & Clean up
You can take everything out of your SAB now that all spawn is sealed back up. You will want to label your jars with a small piece of tape containing the culture name and the date of the inoculation. This helps you keep track of your jars to know which species you used and track their health along their colonization cycle.
Step 4: Storage
Store your grain spawn in a relatively dark environment (light won’t hurt but can slow down the speed) and wait for it to fully colonize. You can shake the jars around 30% colonization to help speed up the process if desired. Here is a video for reference.
How long for my grain to colonize?
The time to colonize varies from variety to variety, but generally, you can follow the guidelines below:
| Method | Growth | Colonization |
|---|---|---|
| Liquid Culture -> Grain ✅ | 1-3 days | 10-15 Days |
| Agar -> Grain ✅ | 1-3 days | 20-25 Days |
| Grain -> Grain ⭐️ | 1-2 days | 5-10 Days |
| Spores -> Grain ❌ | 3-14 days | 20-25 Days |
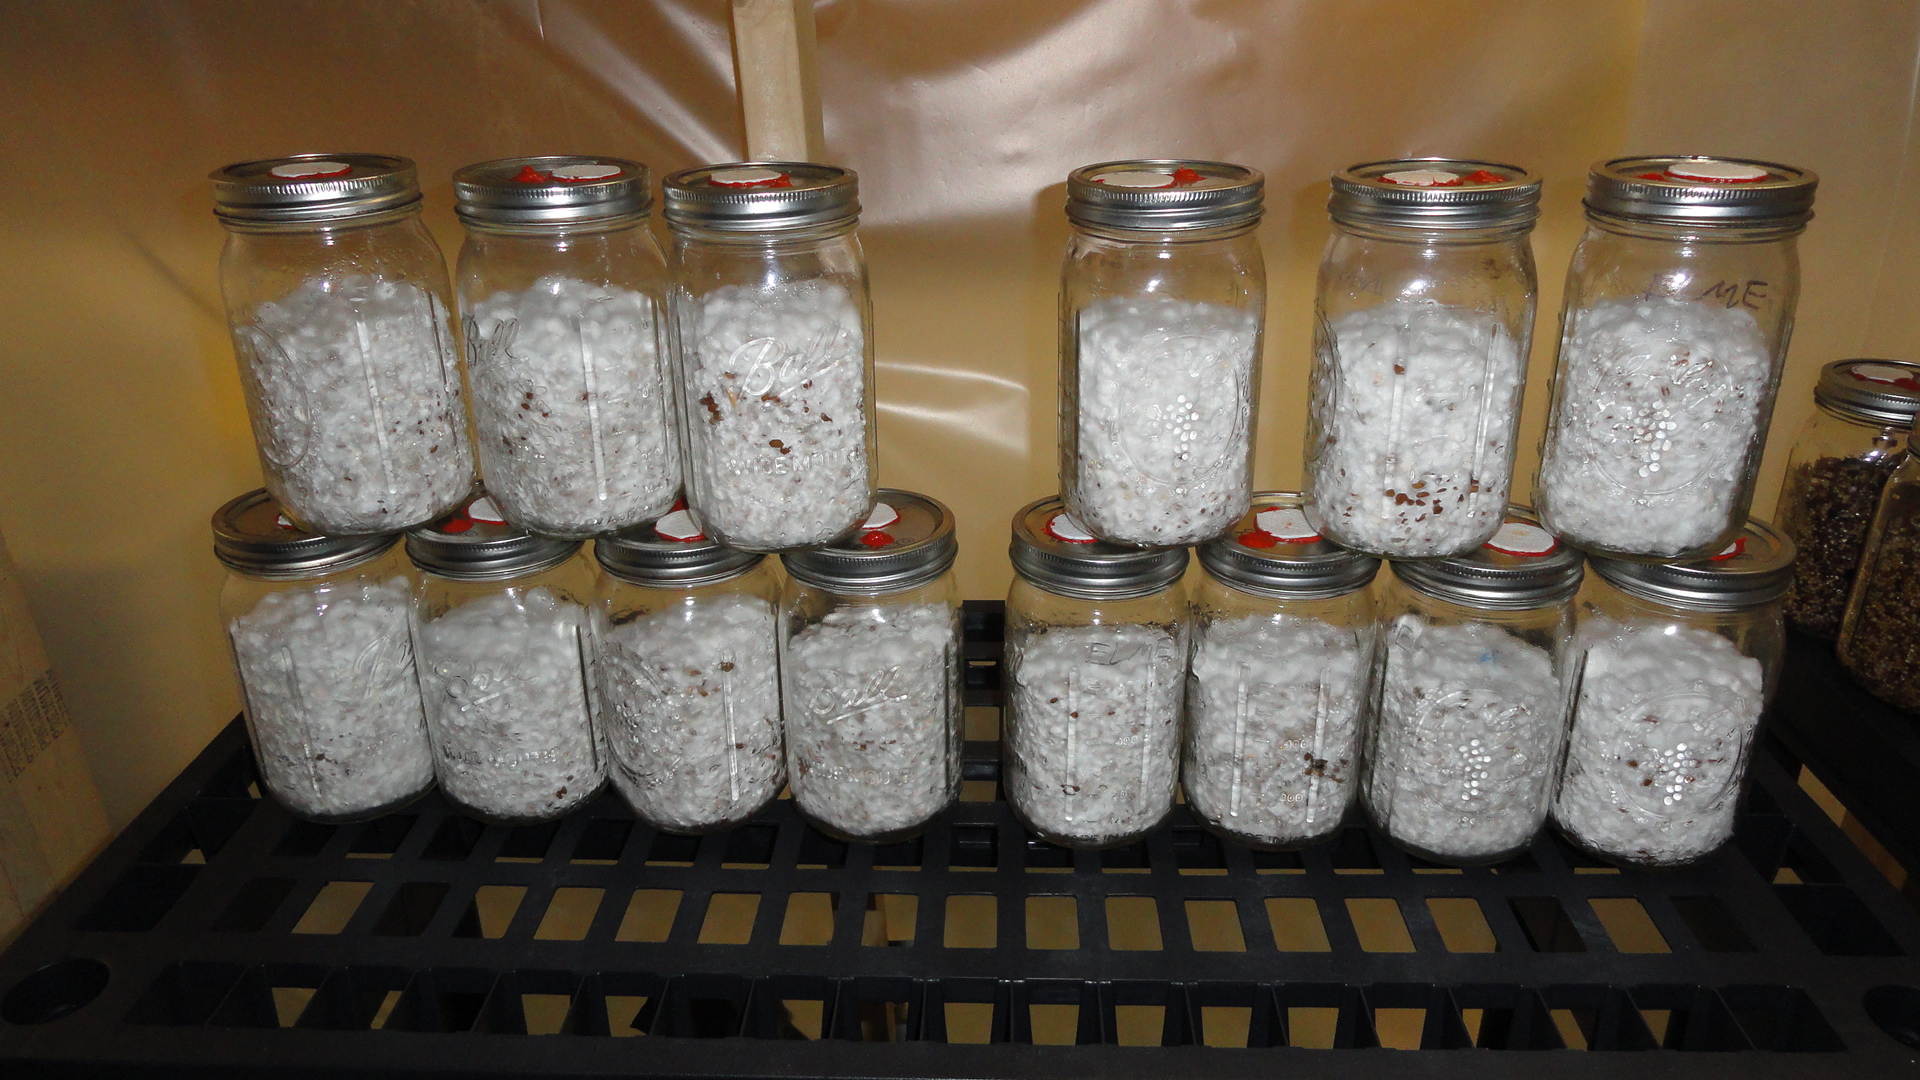
Fully Colonized grain jars
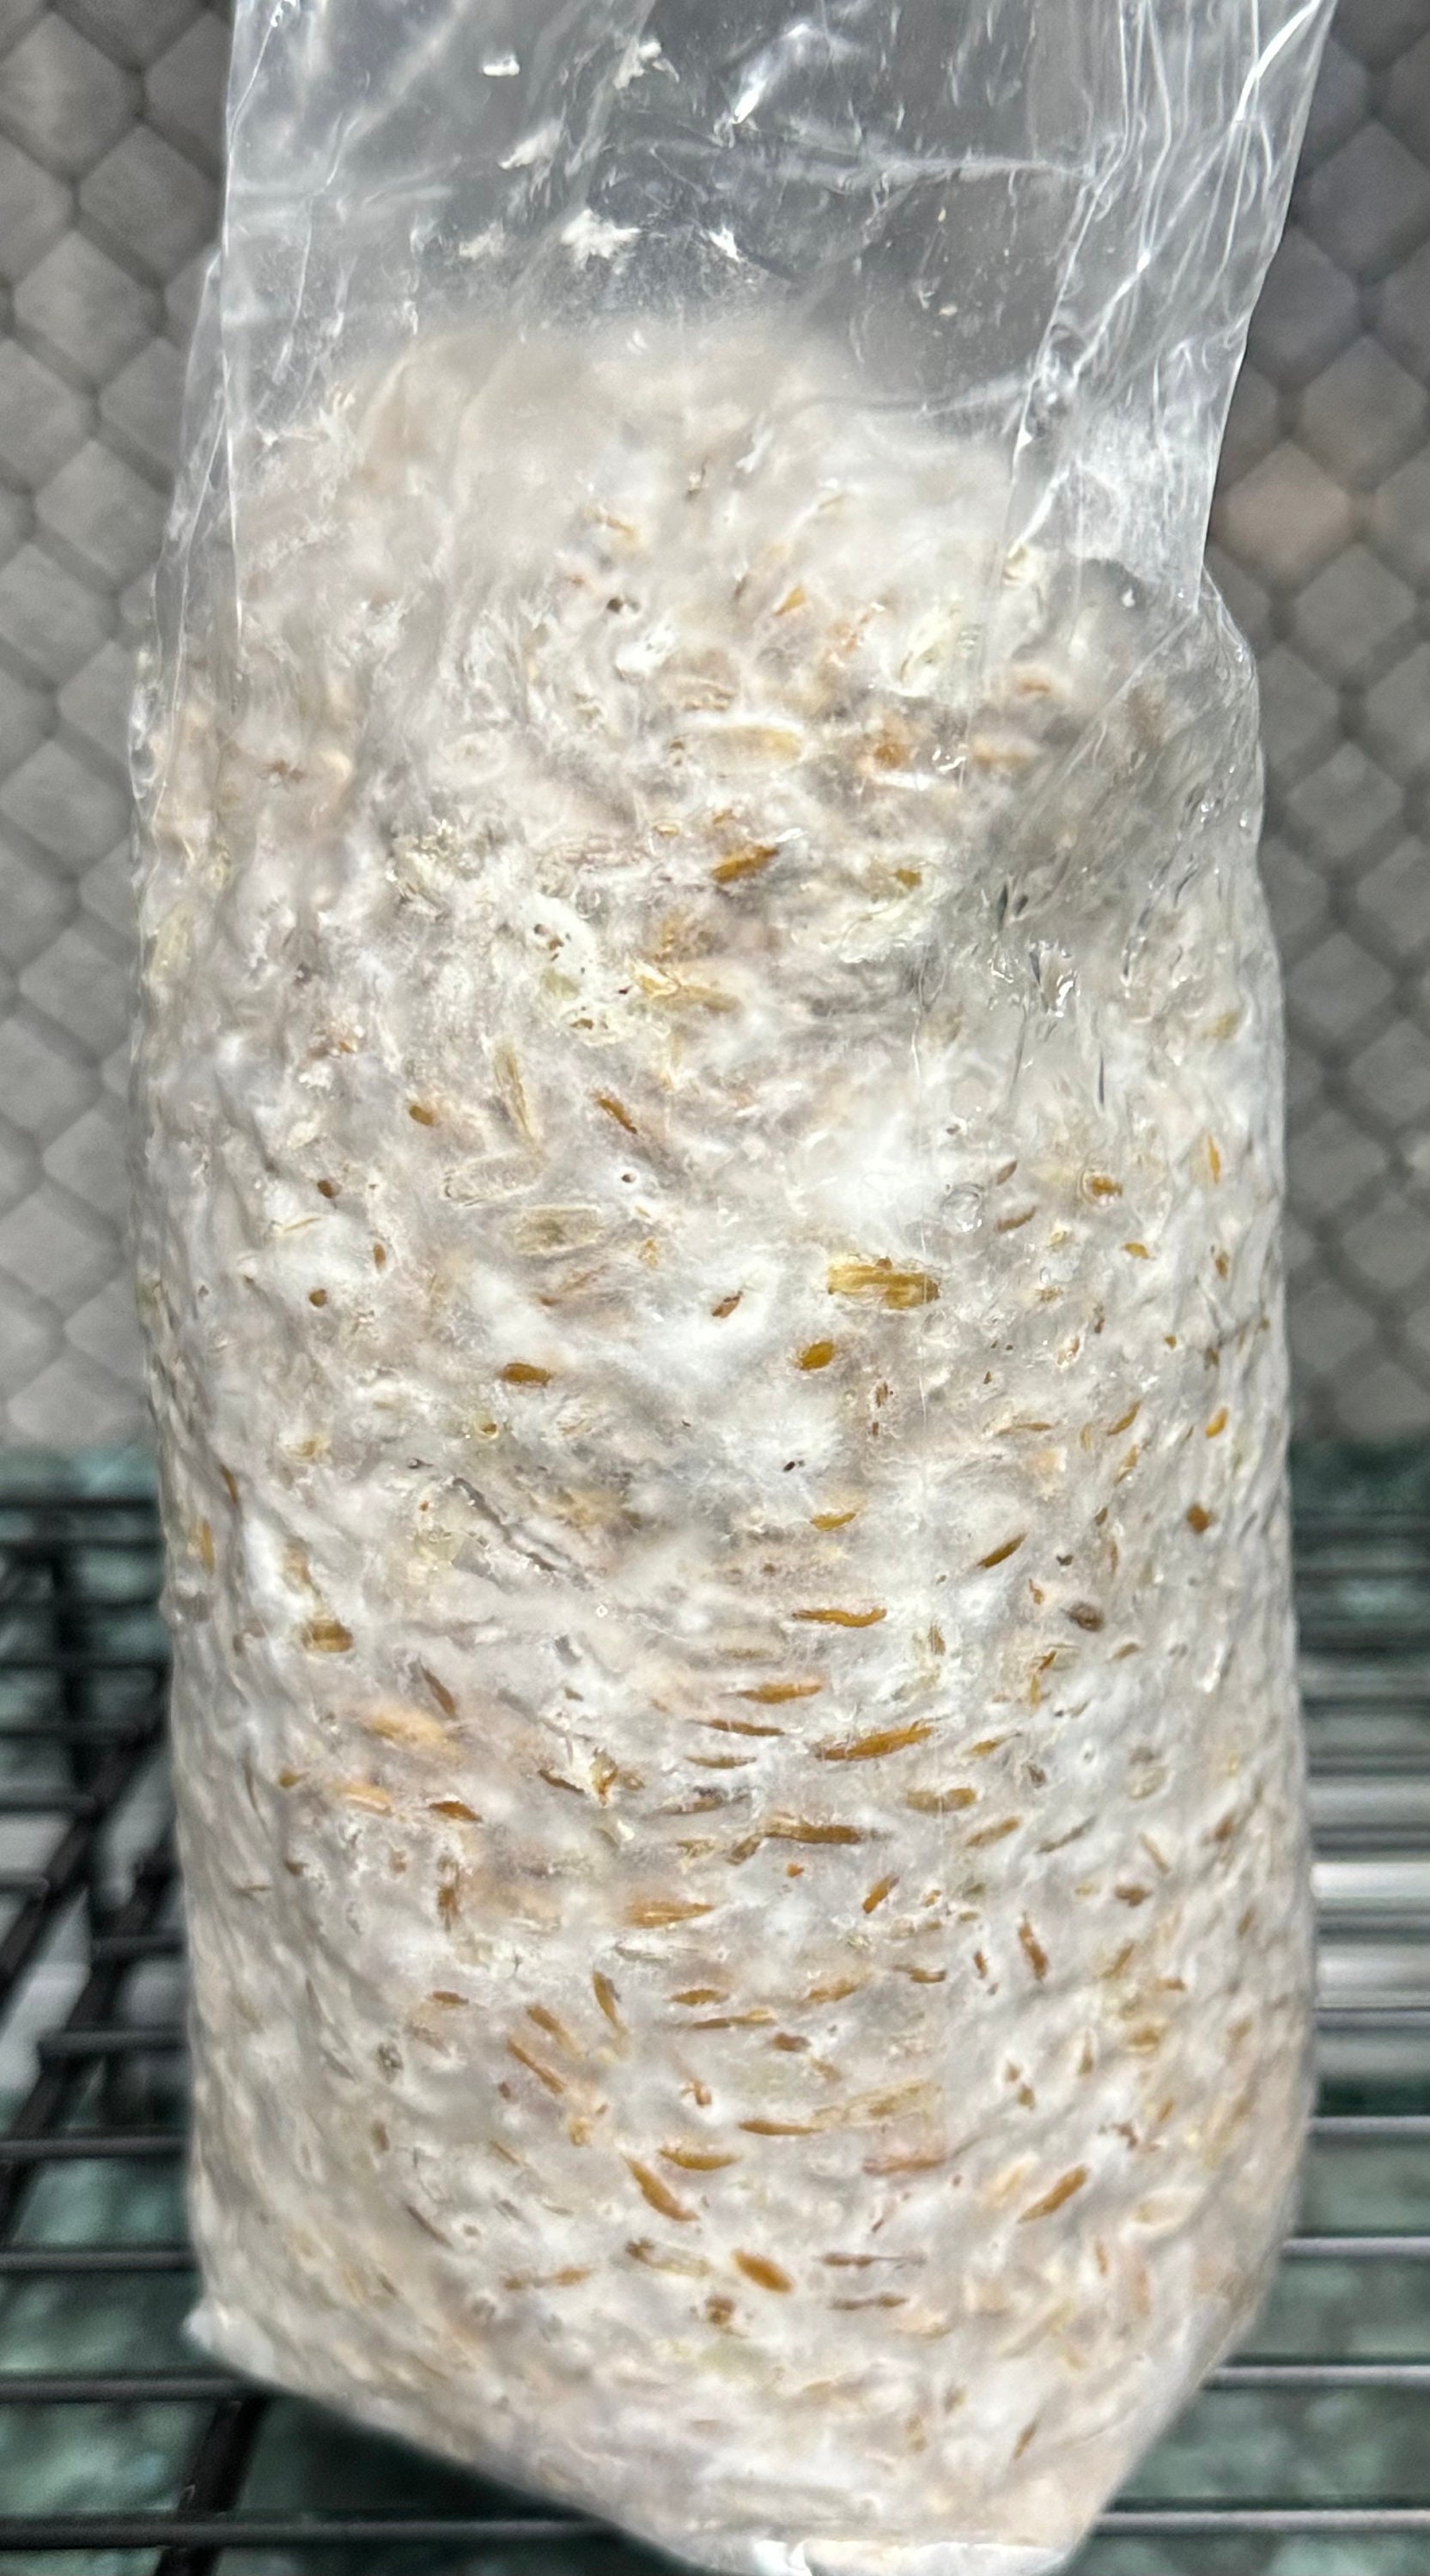
Fully Colonized grain bag
What Next?
Now that your grain is inoculated and fully colonized, you can move on to the next stage, spawning to bulk.
