Spawning To Bulk 📈
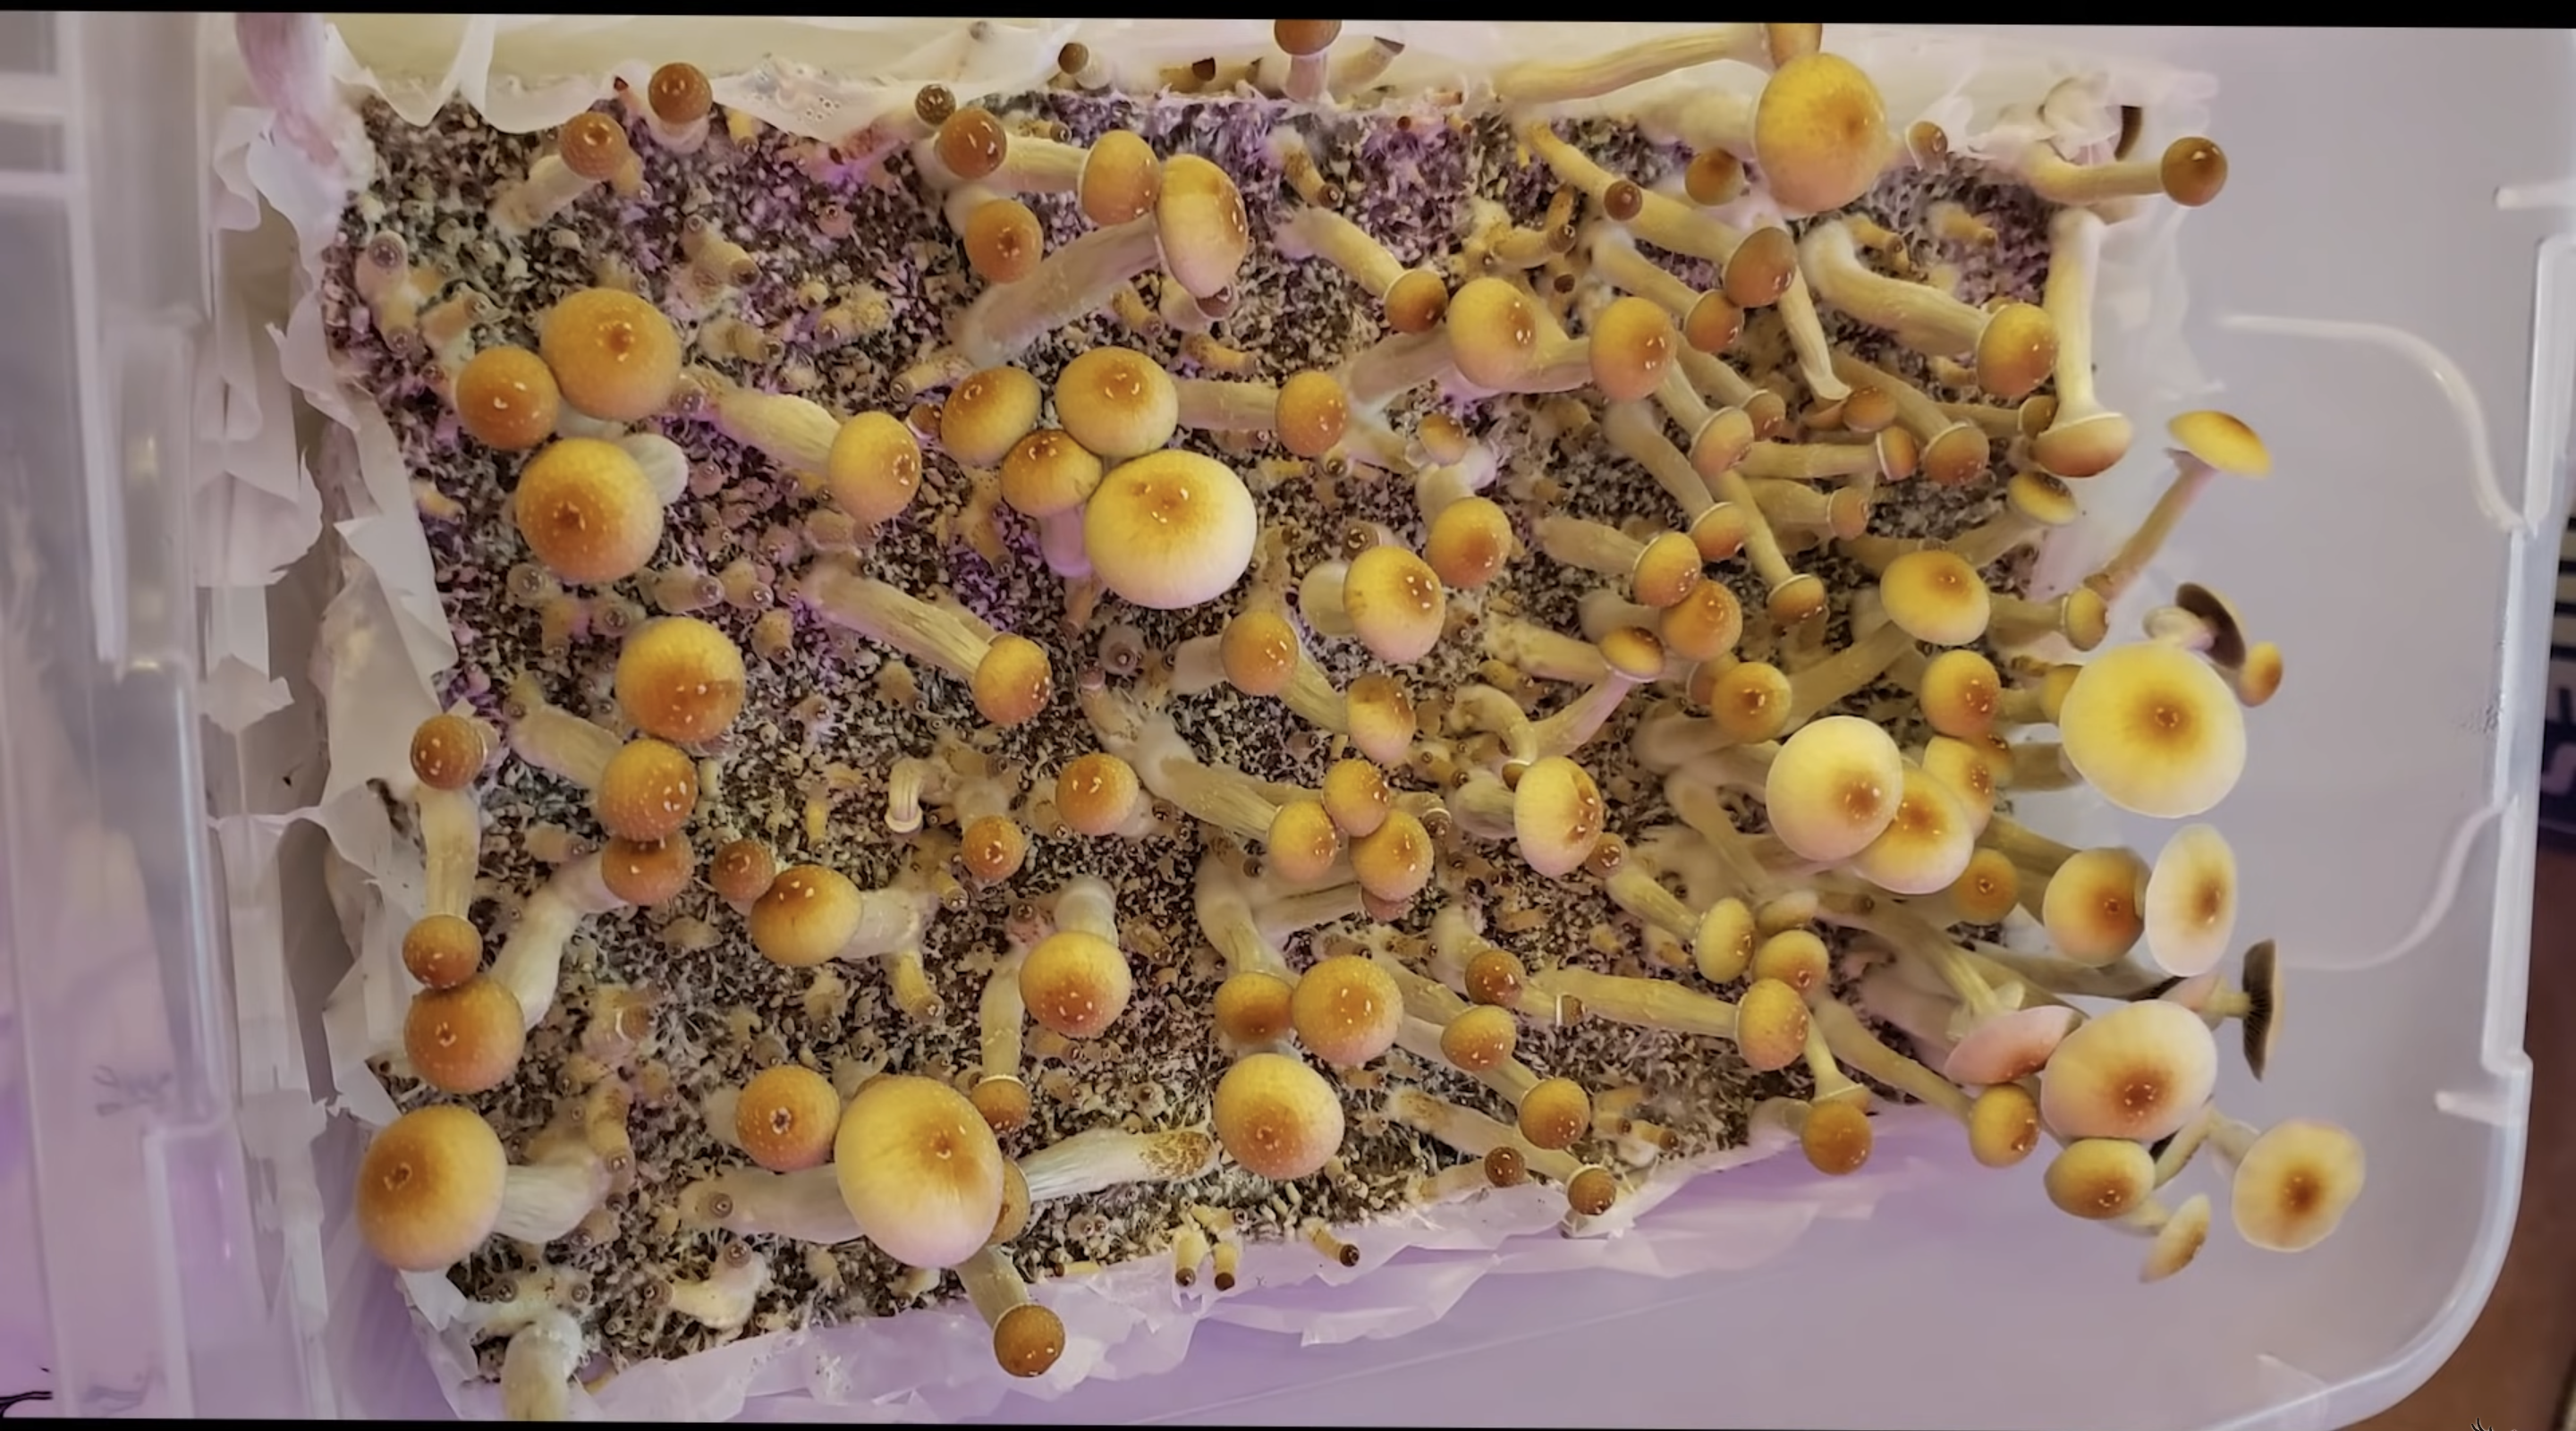
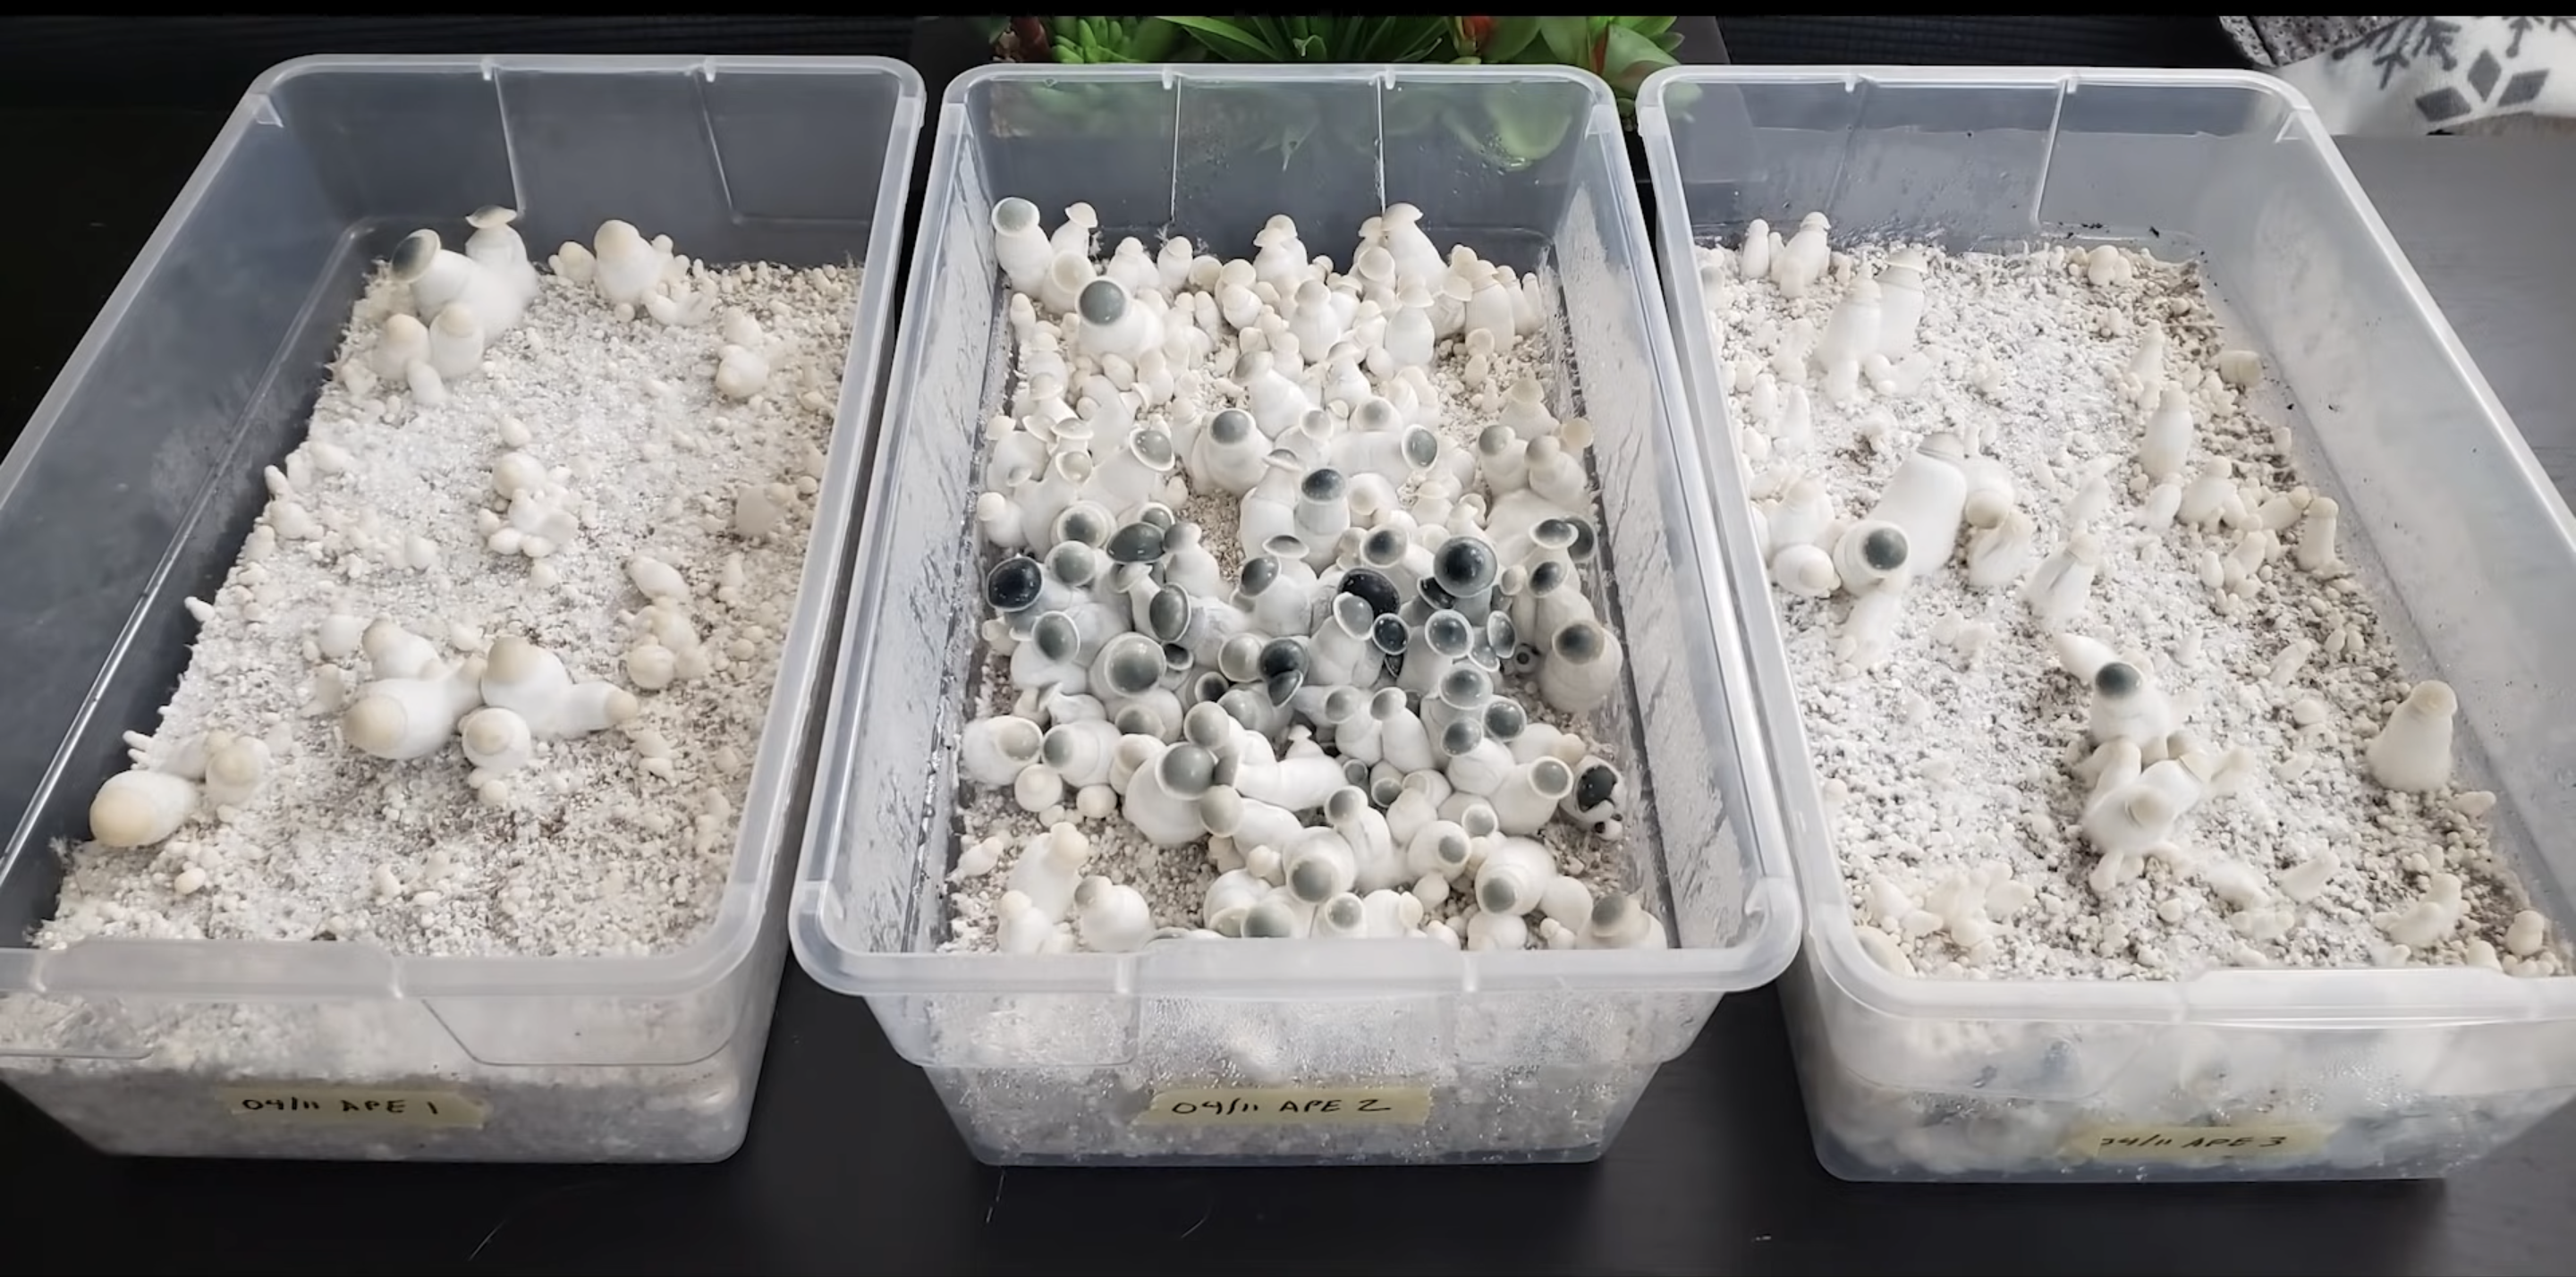
Once your jars are fully colonized, you are ready to enter the final stage of the mushroom grow cycle, spawning to bulk (S2B). This process allows the colonized grain spawn to colonize your substrate, eventually fruiting into gorgeous mushrooms!
Supplies
Required
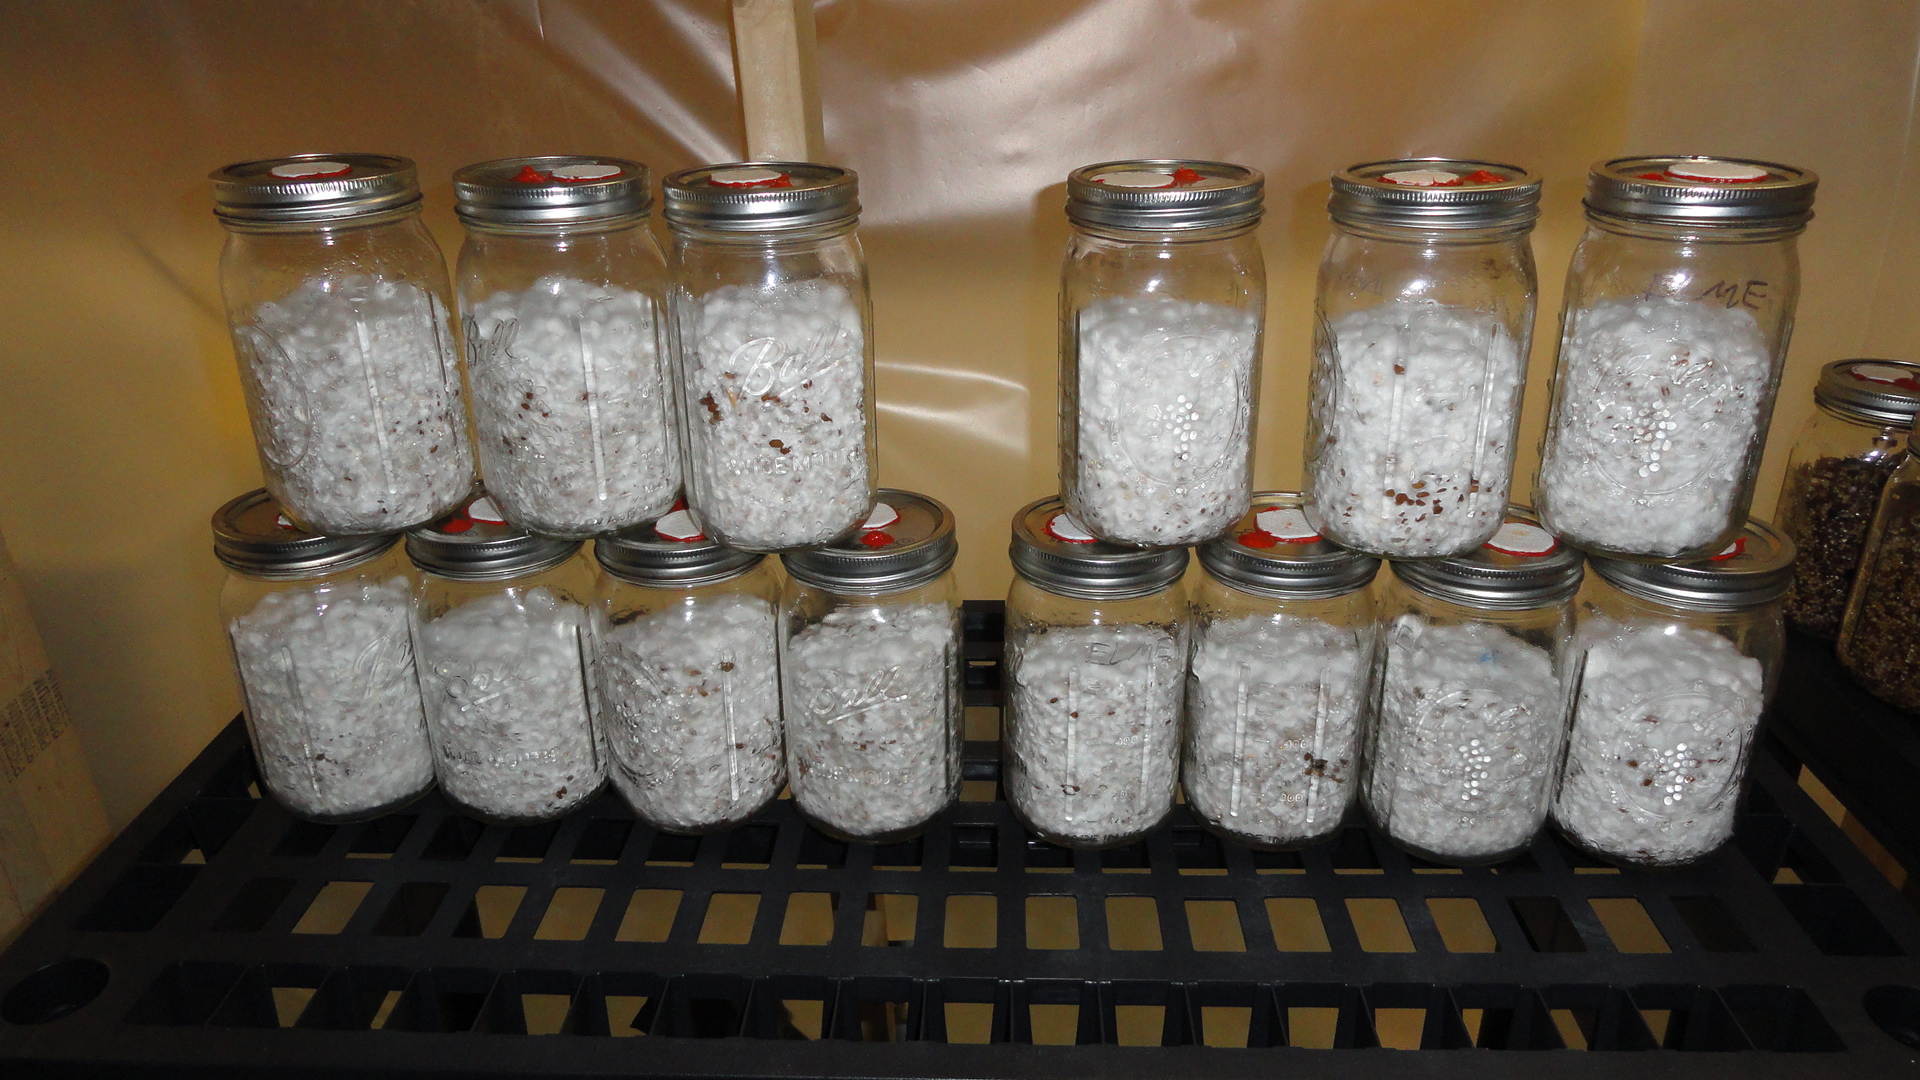
- Fully Colonized Grain Spawn
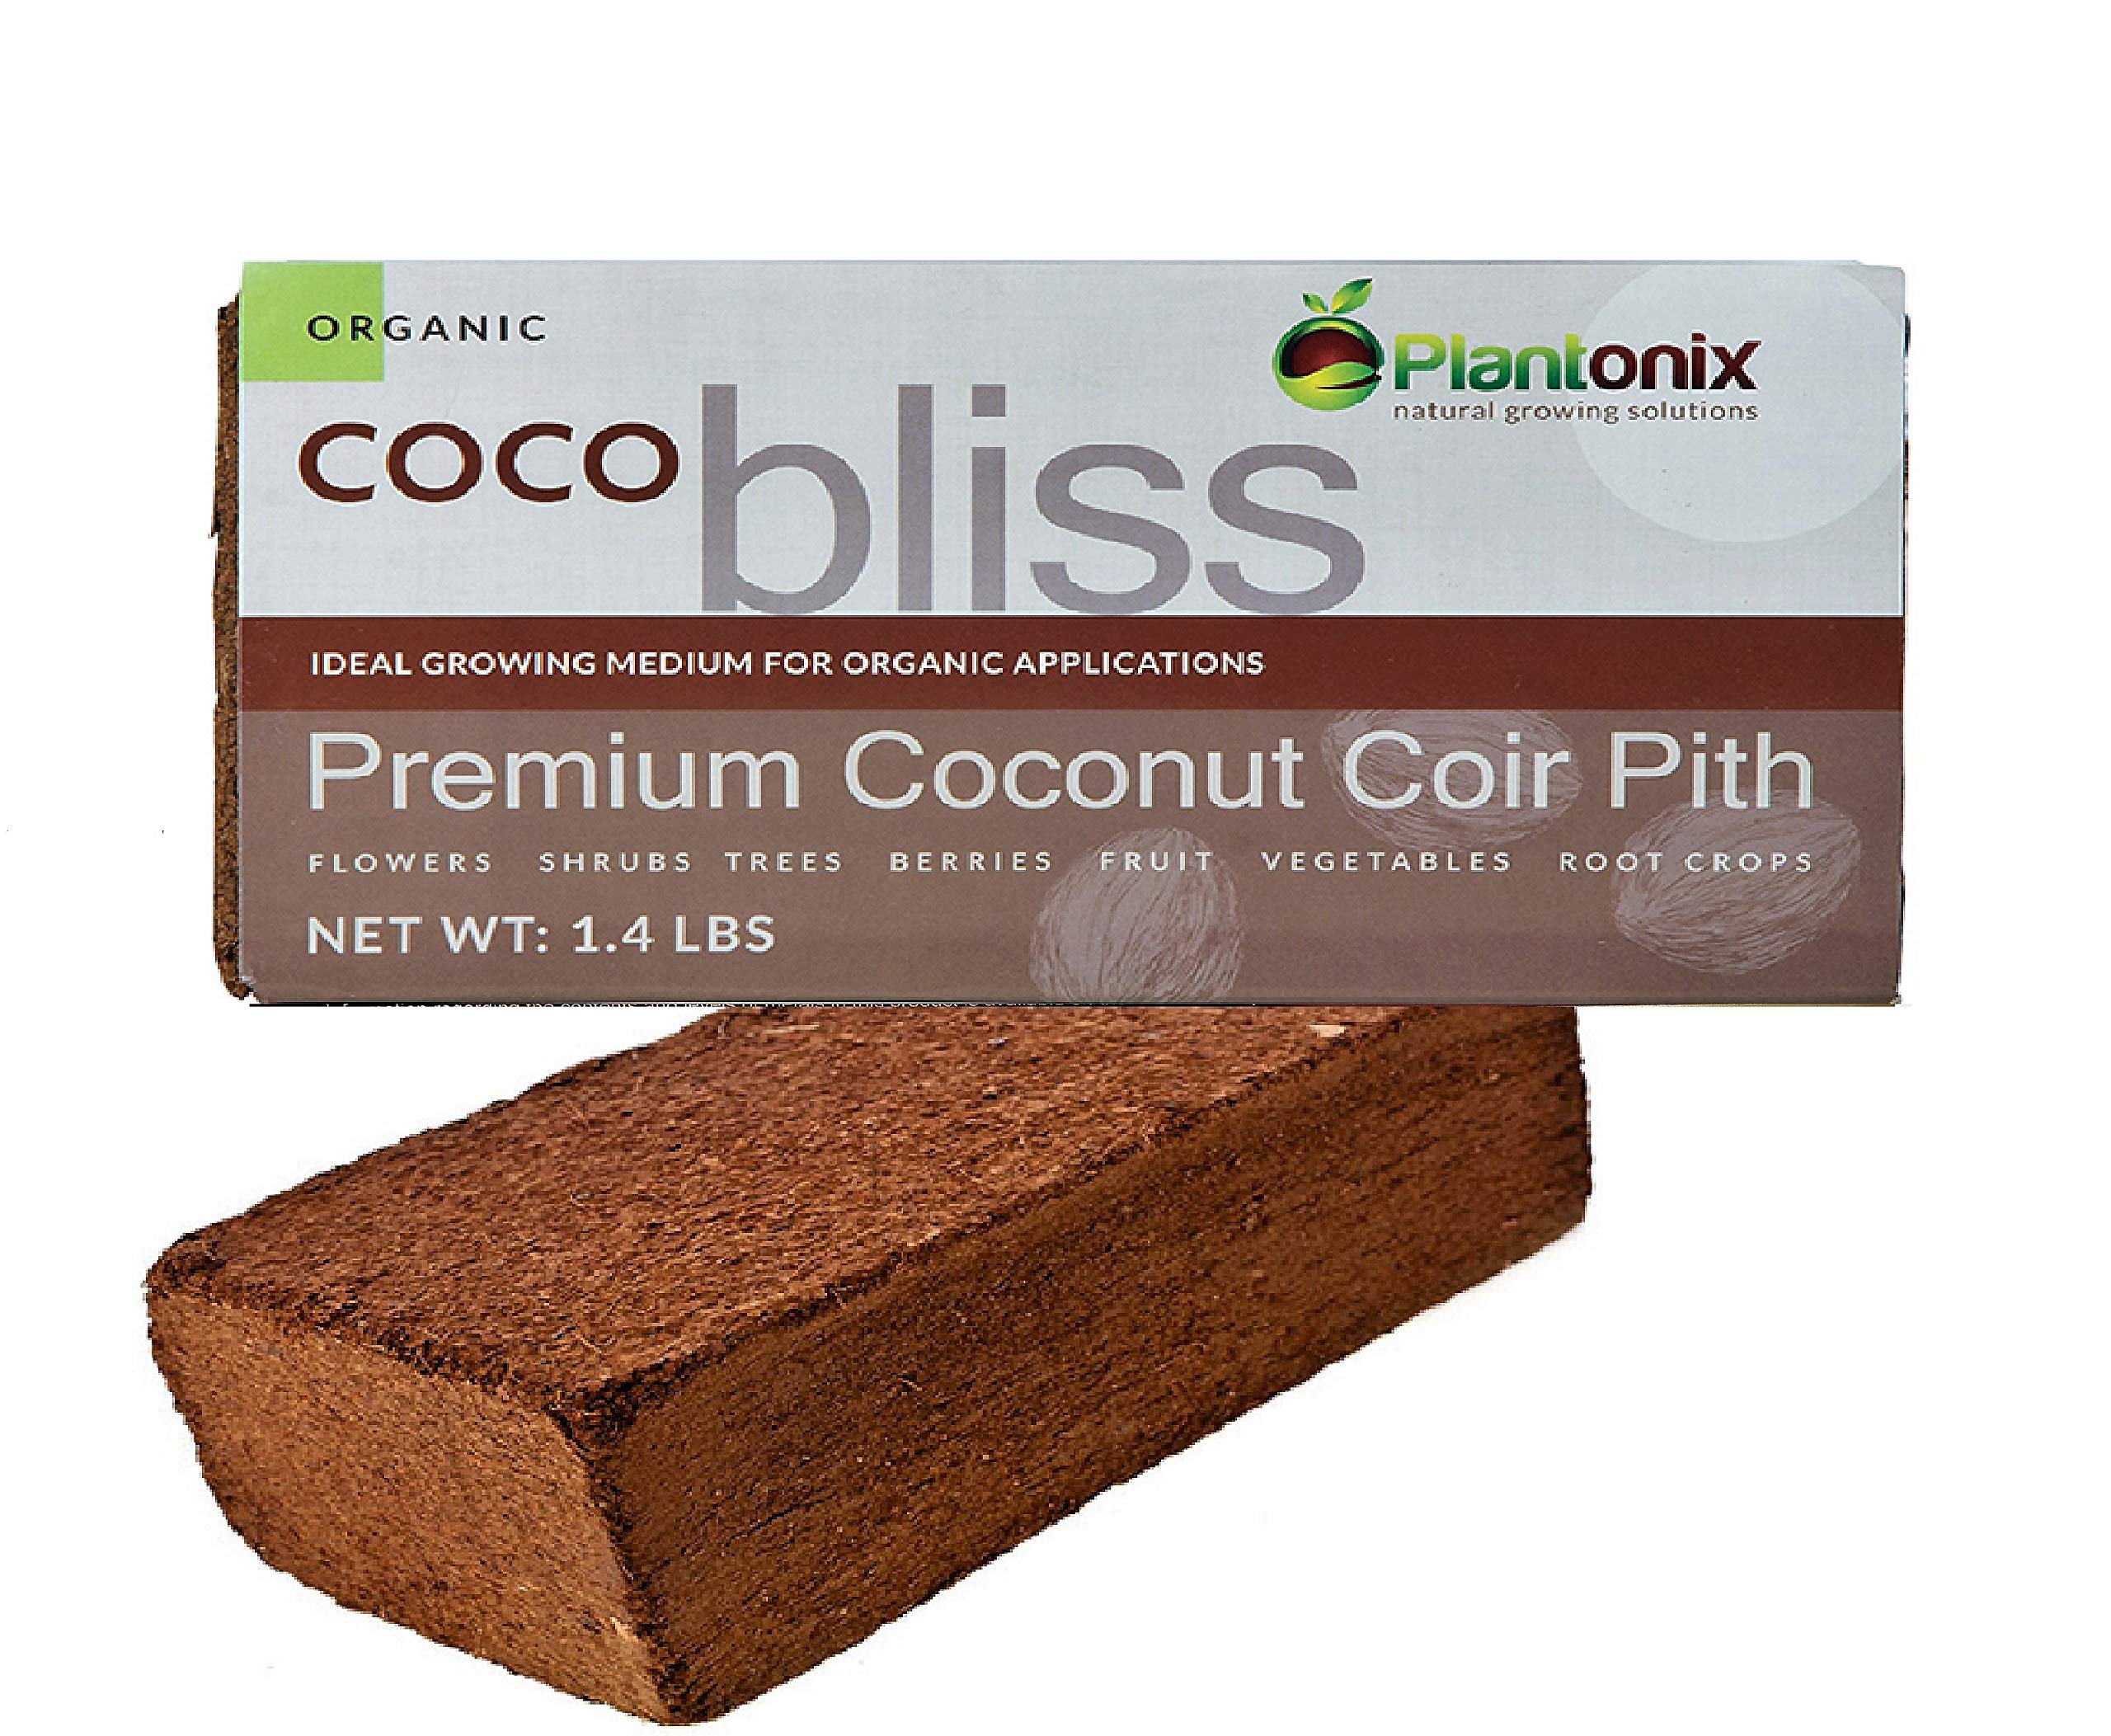
- Substrate Hydrated to Field Capacity (Learn how to make this here)
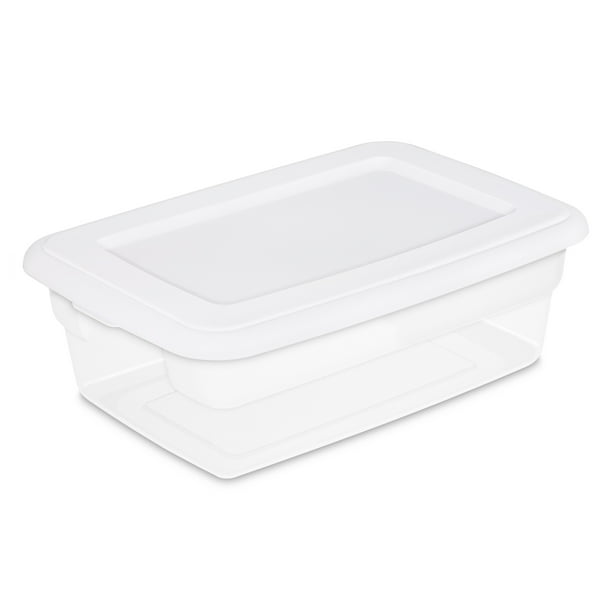
- Container (Monotub or Unicorn Bag)
Optional But Recommended
- Trash Bag for monotub liner
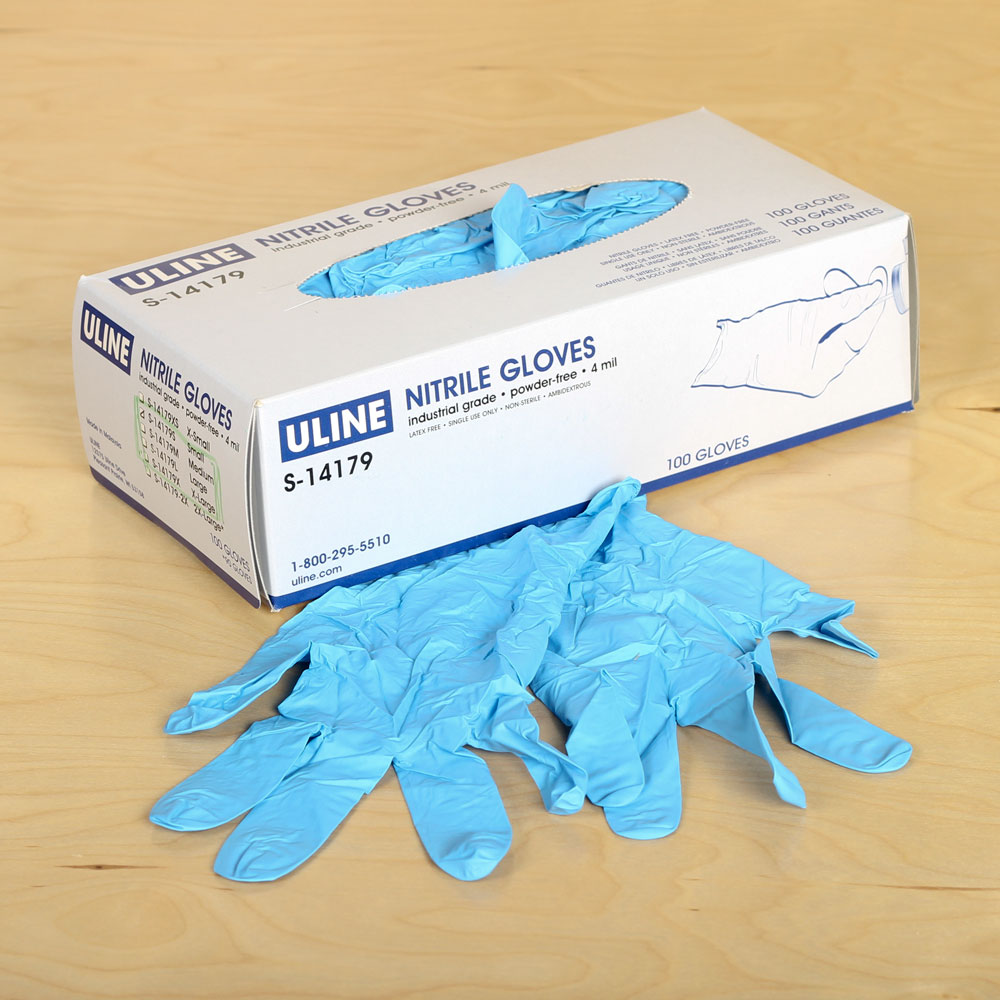
- Nitrile gloves
- Fine mister


Monotub instructions
My preferred method of cultivation is using an unmodified 12qt sterilite monotub. These instructions will apply to this method, but the general process can be repeated and scaled regardless of the container. I recommend following this video instructions with this guide as a reference.
Note: Images below credit to PhillyGoldenTeacher
Step 1: Preparing the monotub
- Wipe down the Sterilite container with isopropyl alcohol.
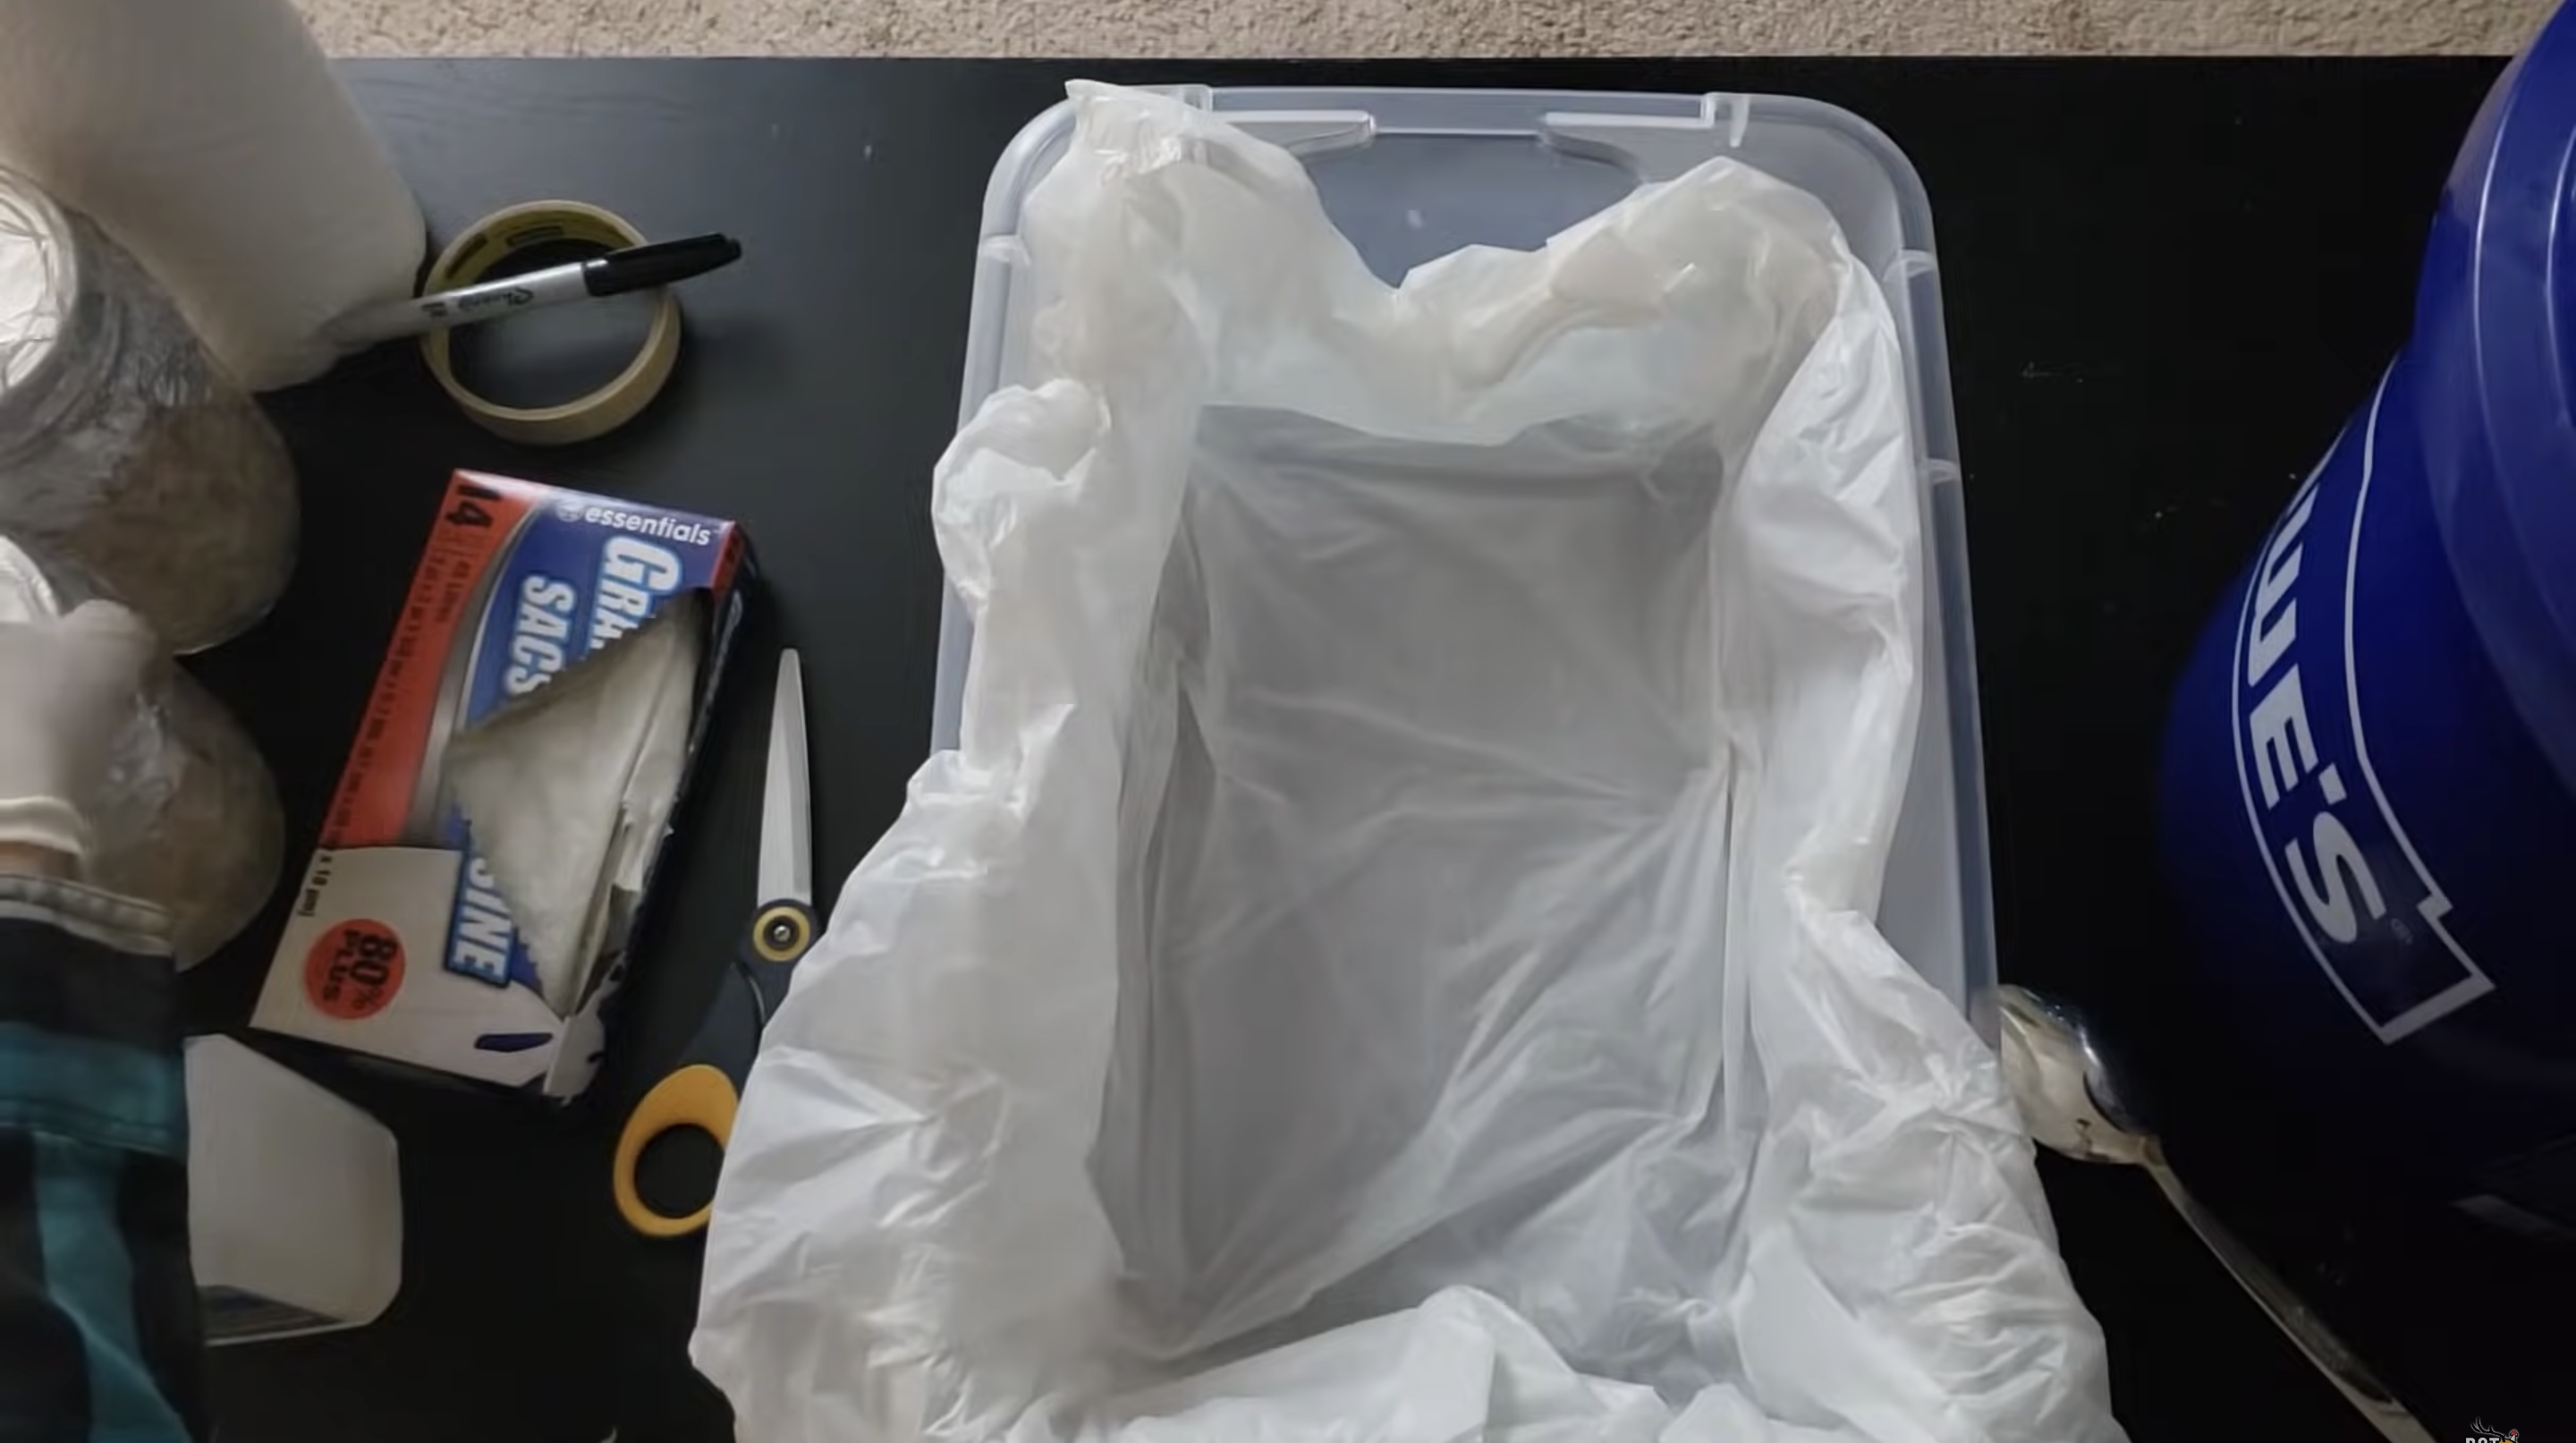
- Insert trash bag into the container to serve as a liner
Step 2: Adding Grain Spawn
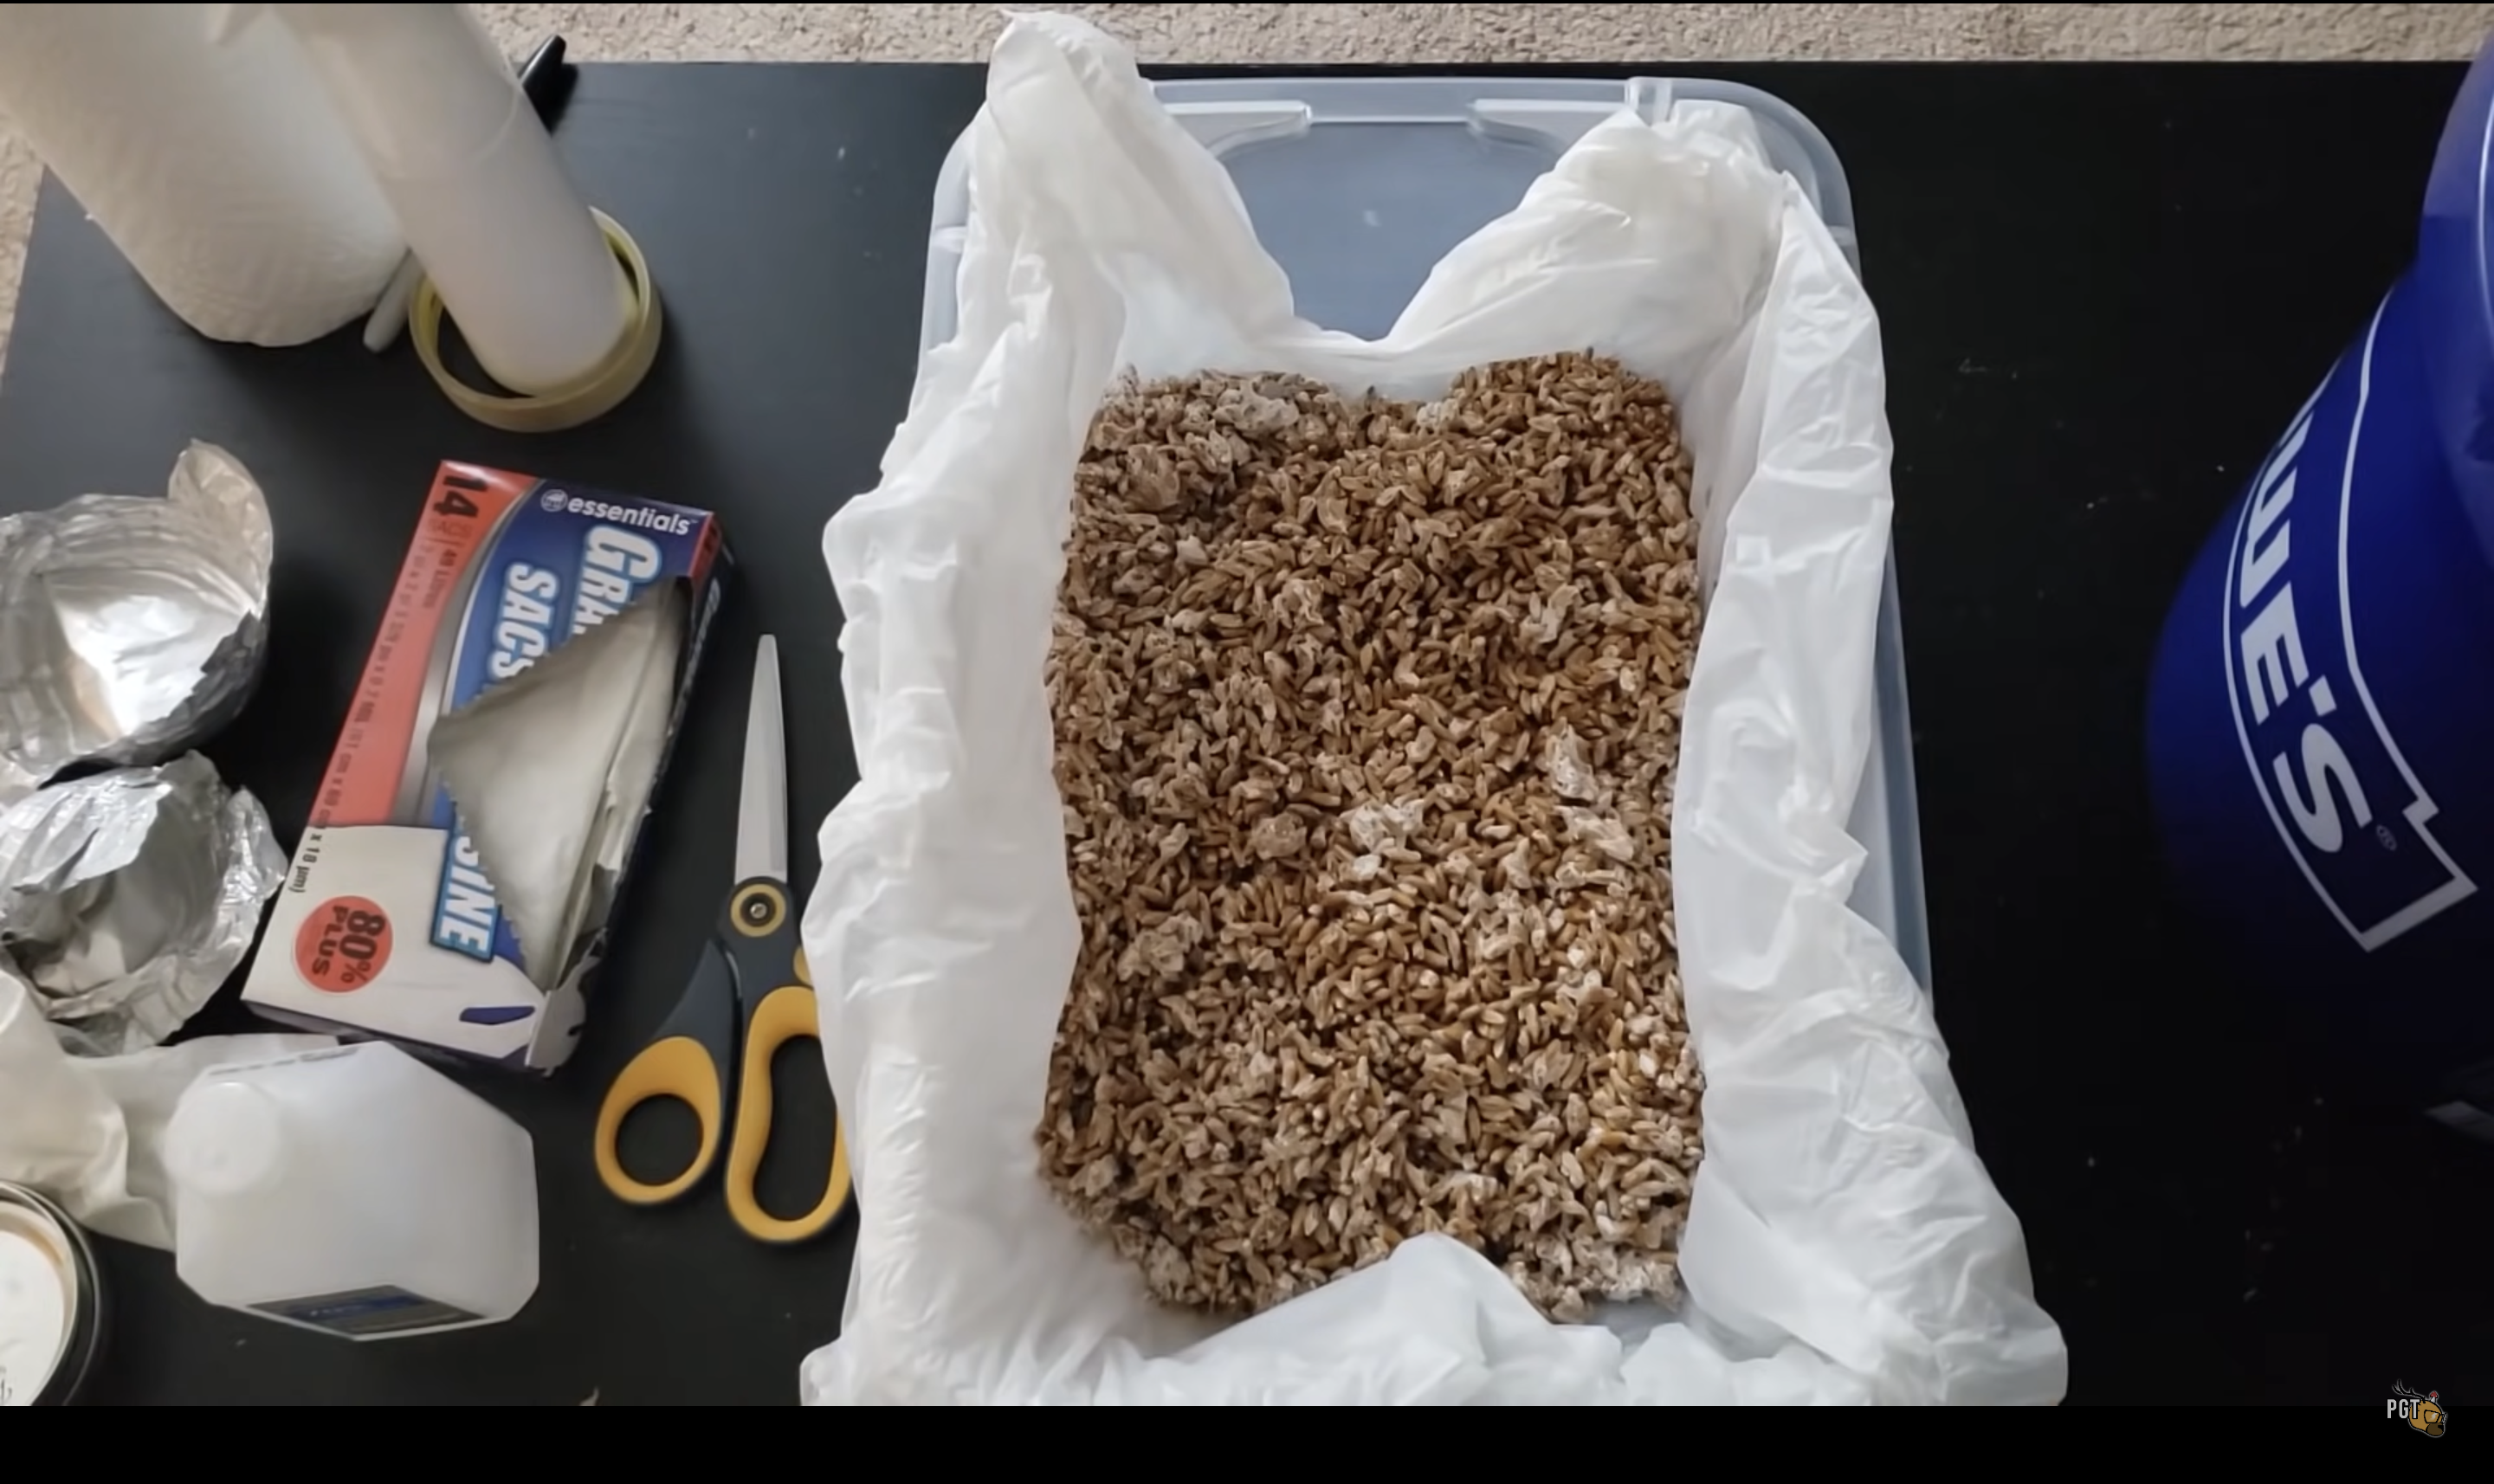
Add your fully colonized grain spawn to the monotub. You can either scoop out the grain spawn with a spoon wiped down with alcohol or break up the grain in the container by shaking it and then pouring it out. For a 12qt container, I use 2qts of spawn.
Step 4: Adding Substrate
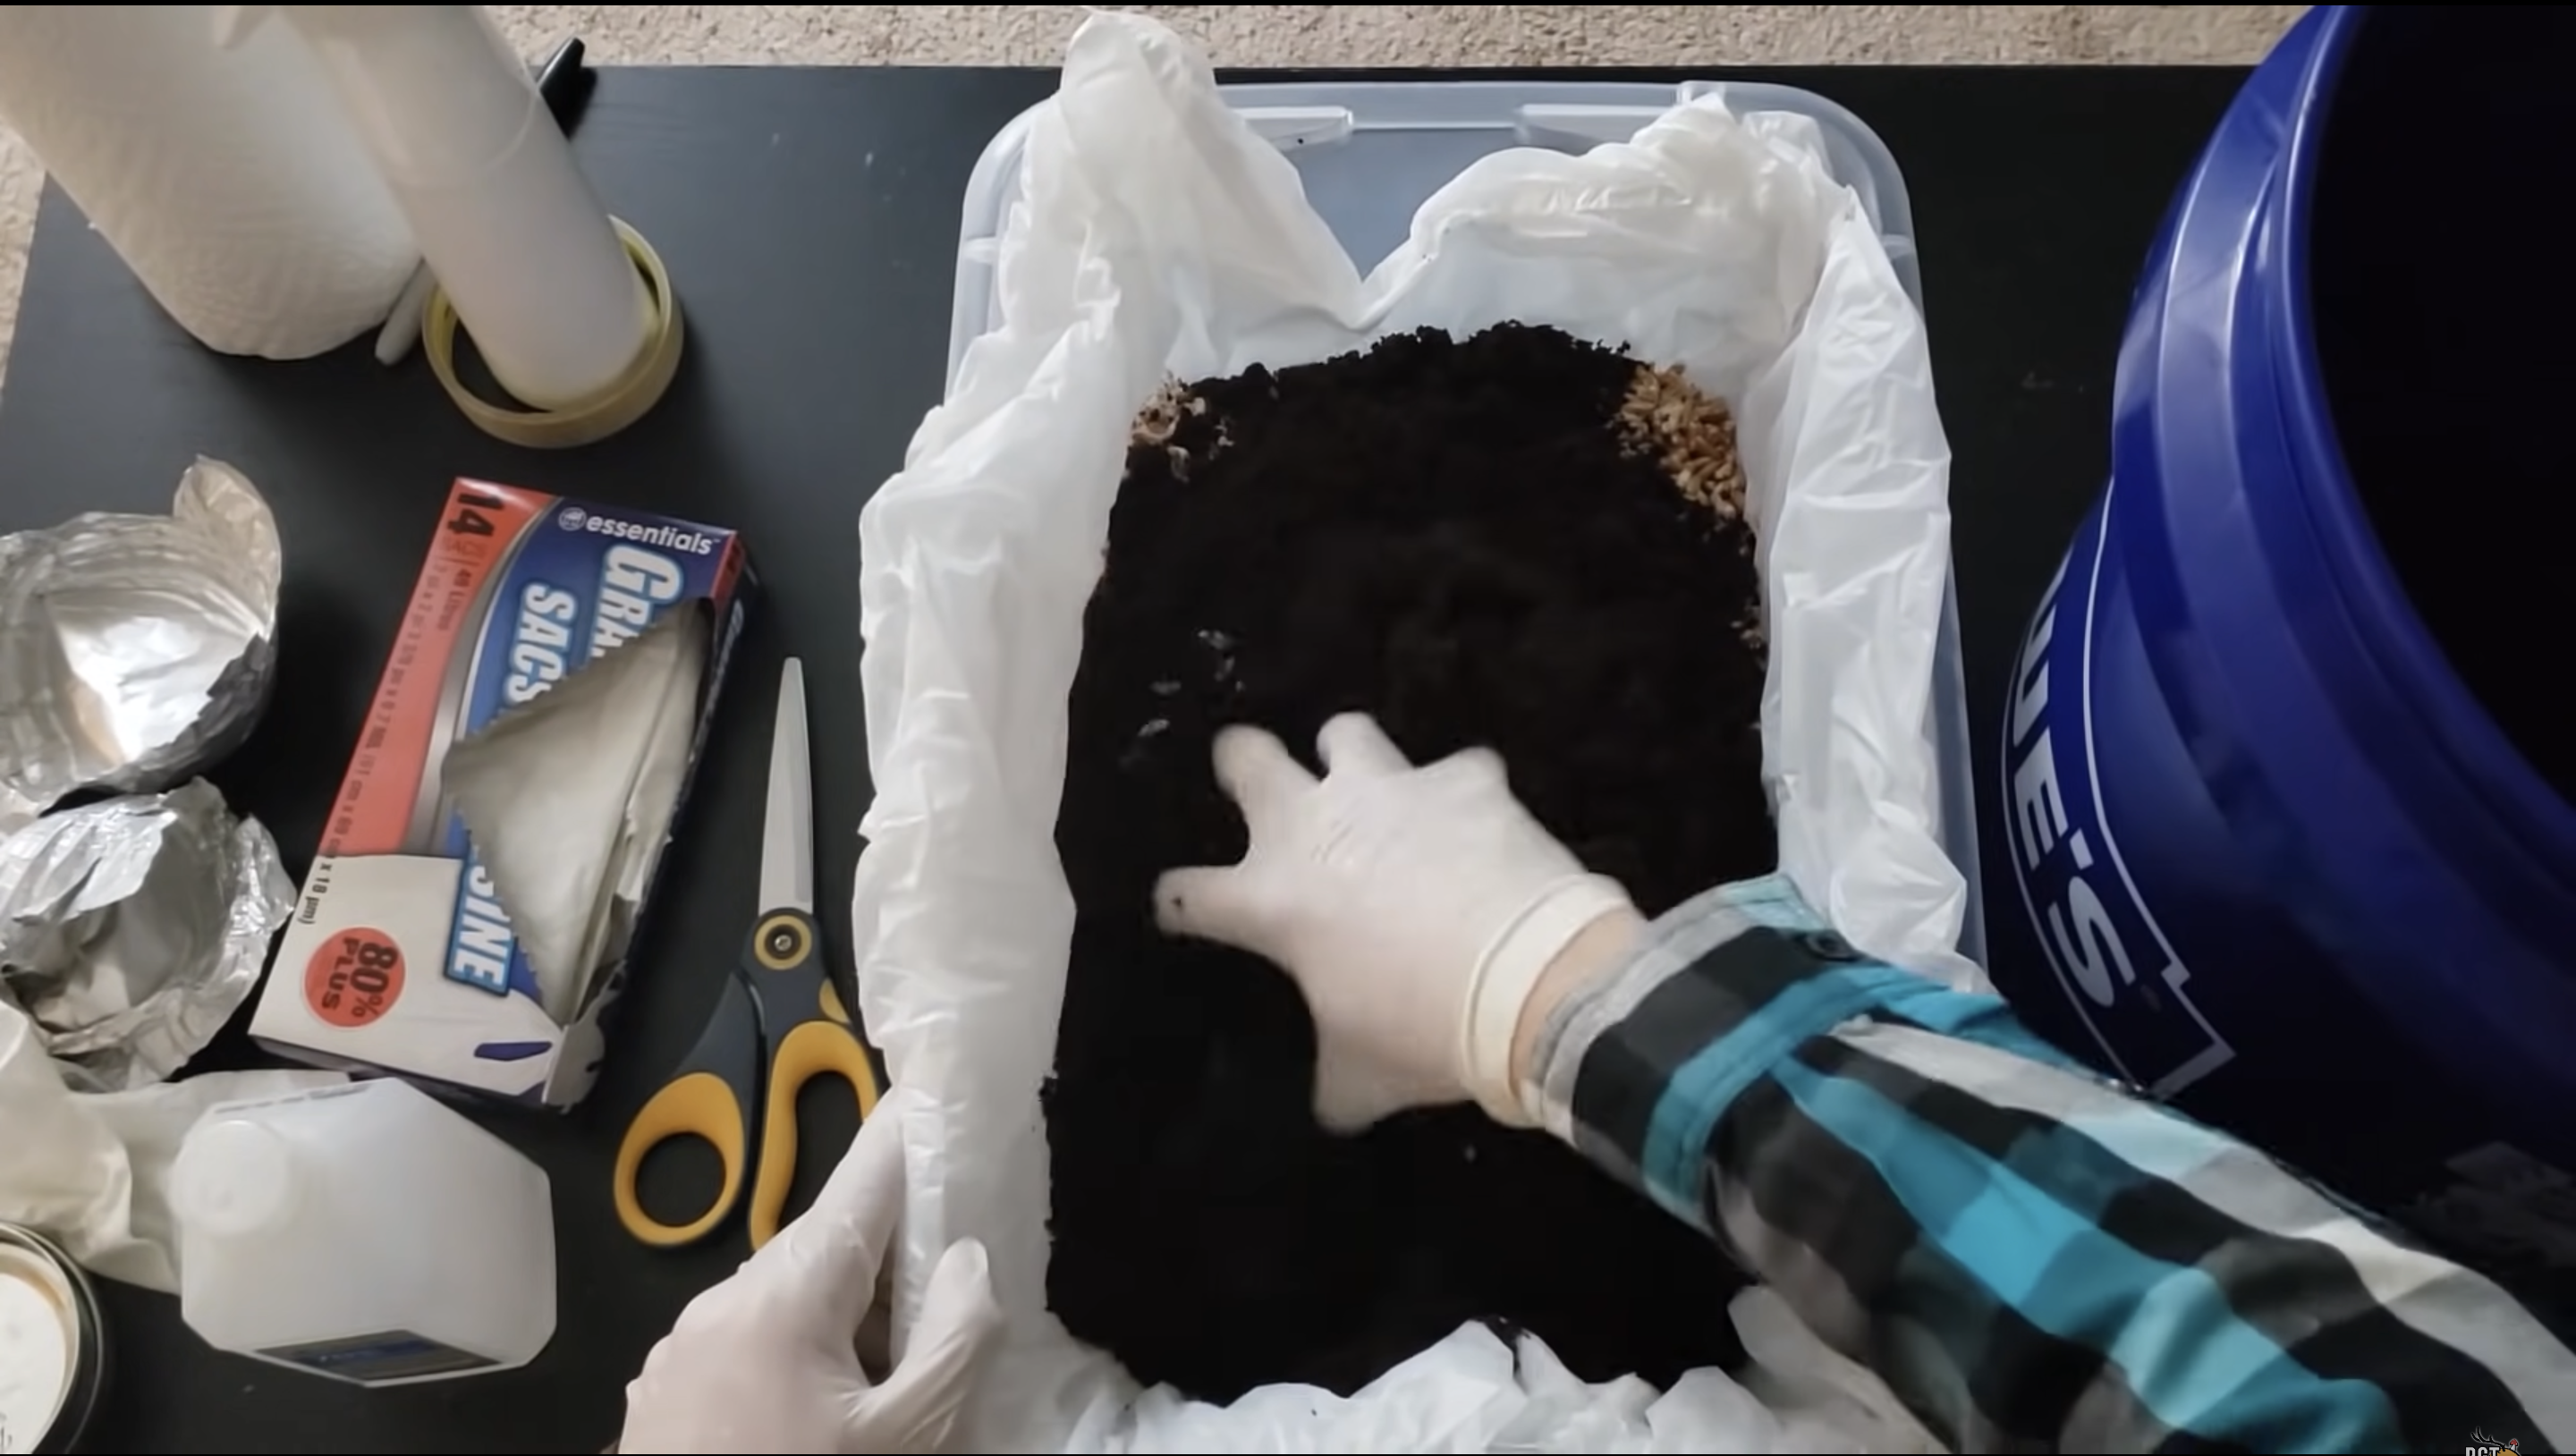
Add double the amount of substrate to your container compared to the grain spawn. For a 12qt monotub with 2qts of spawn use 4qts of substrate
Step 5: Mixing and Casing layer
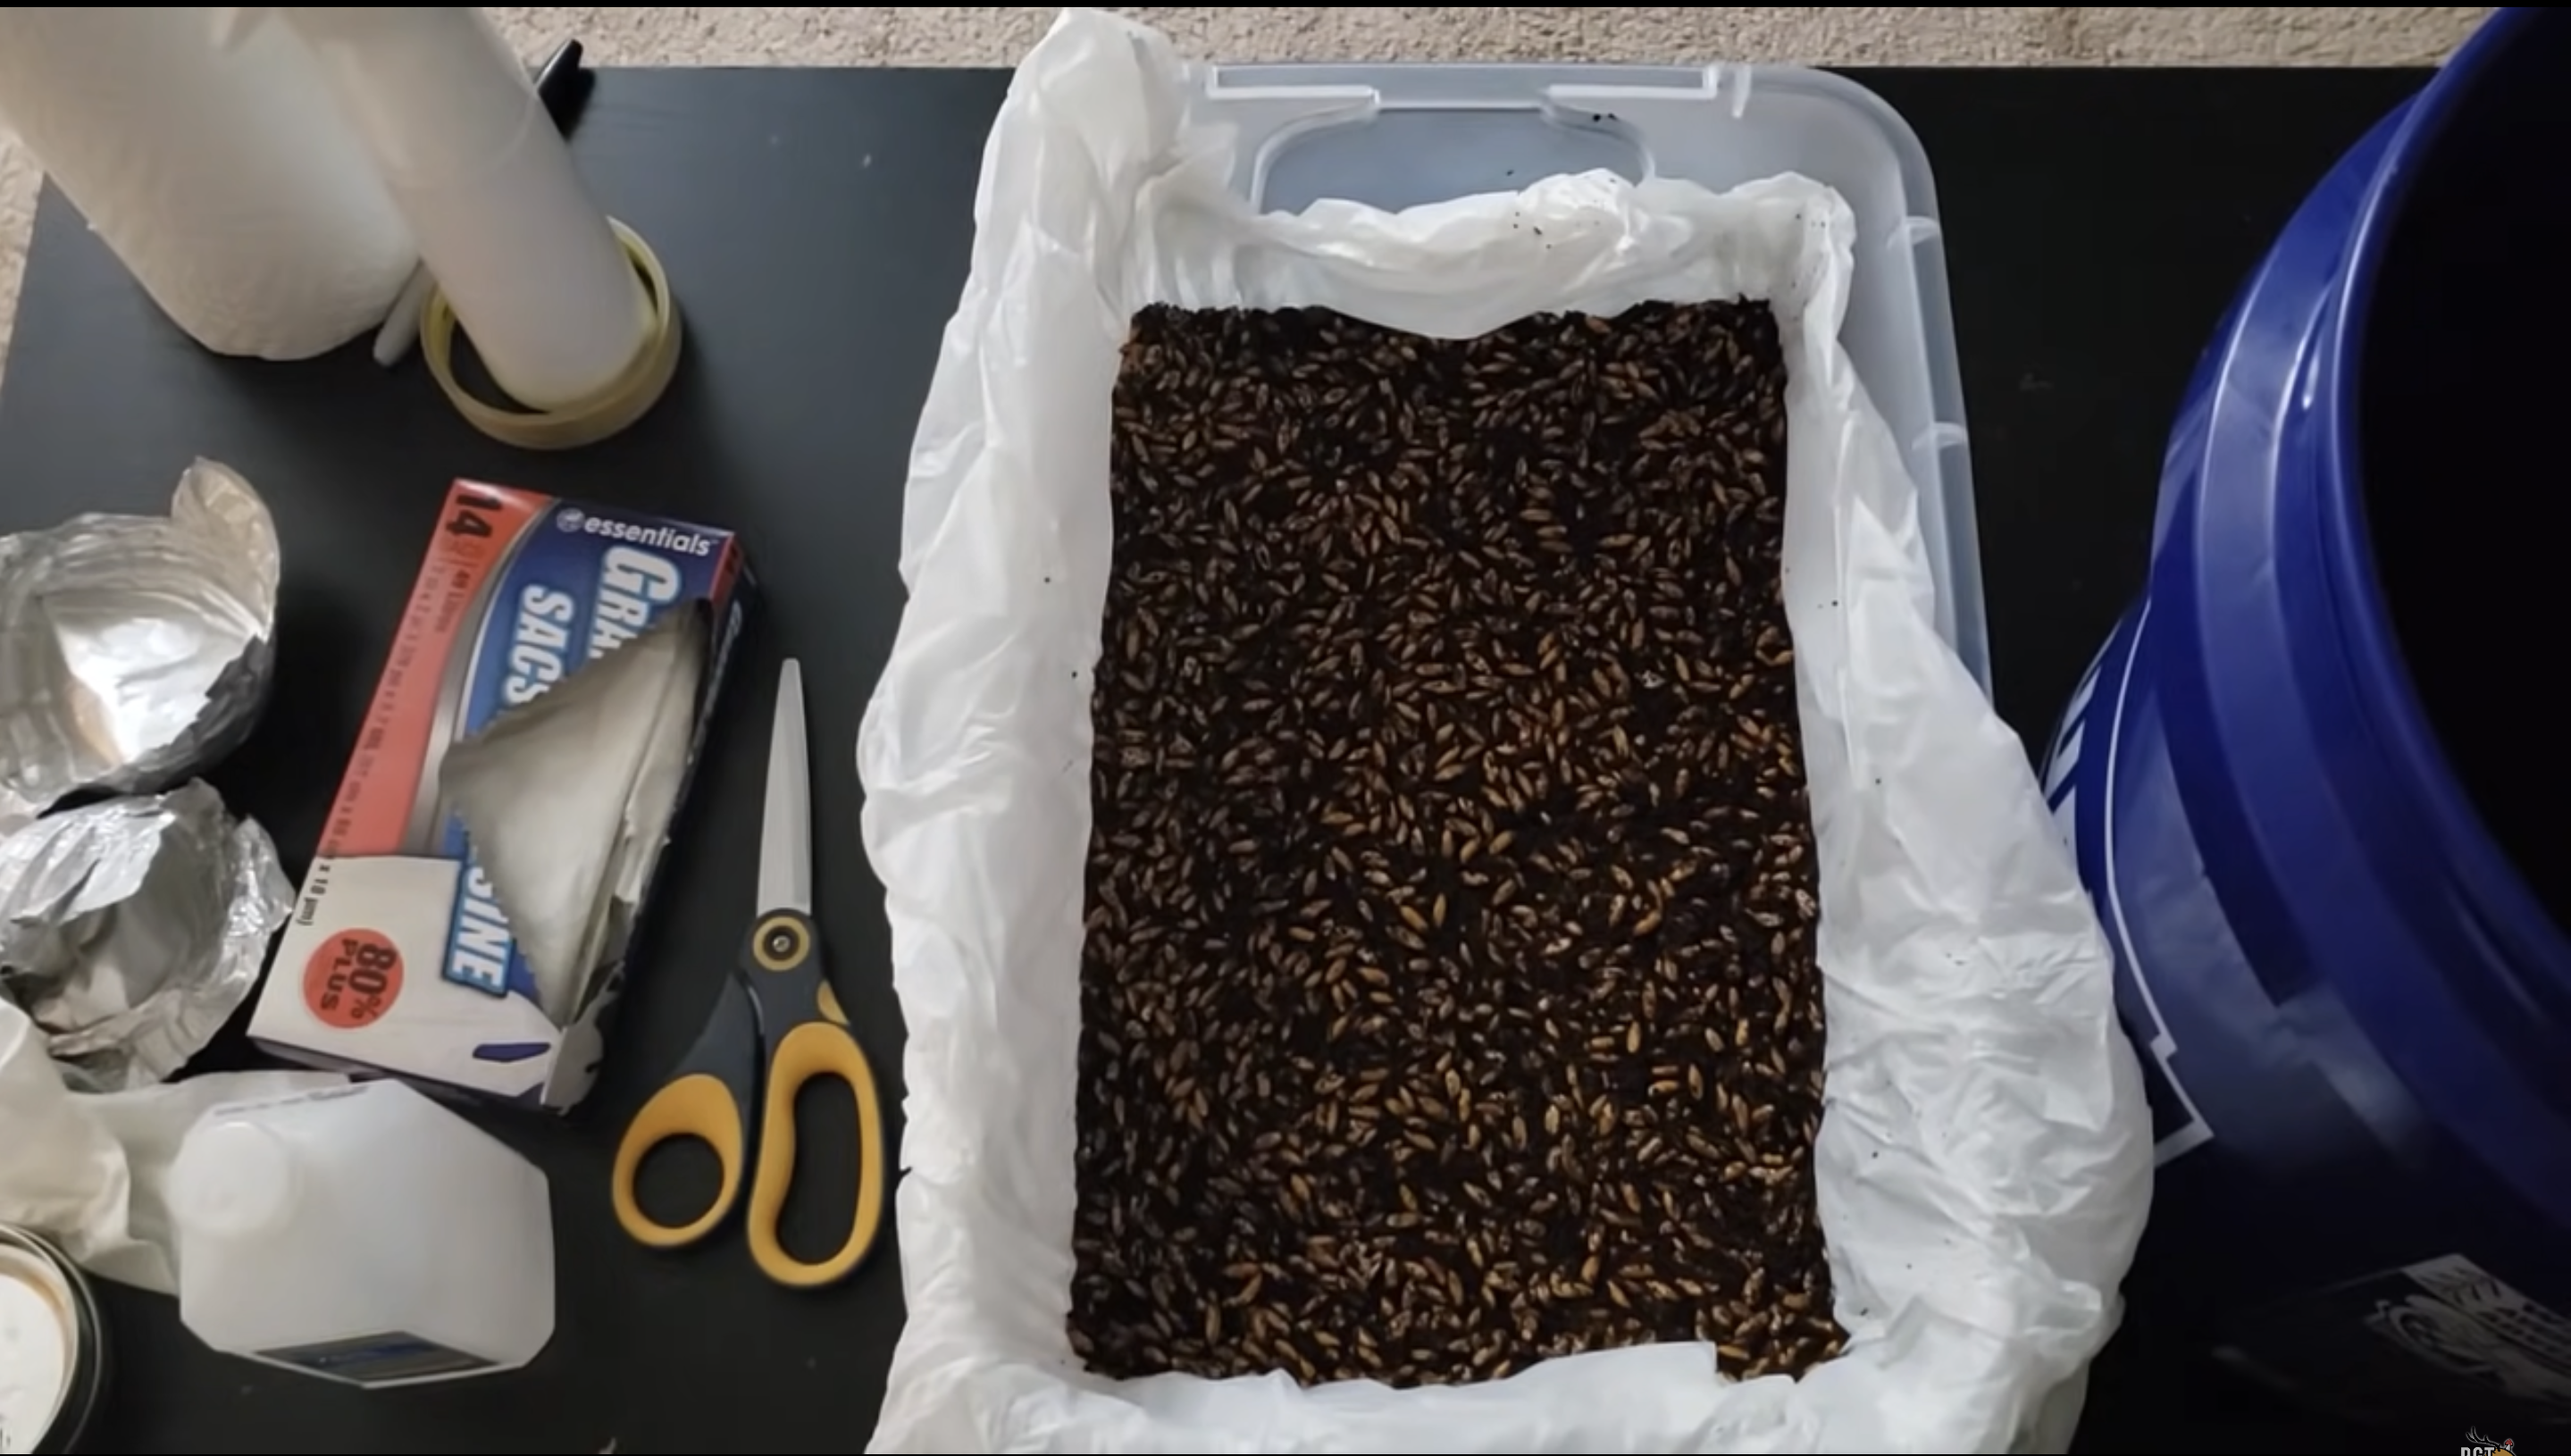
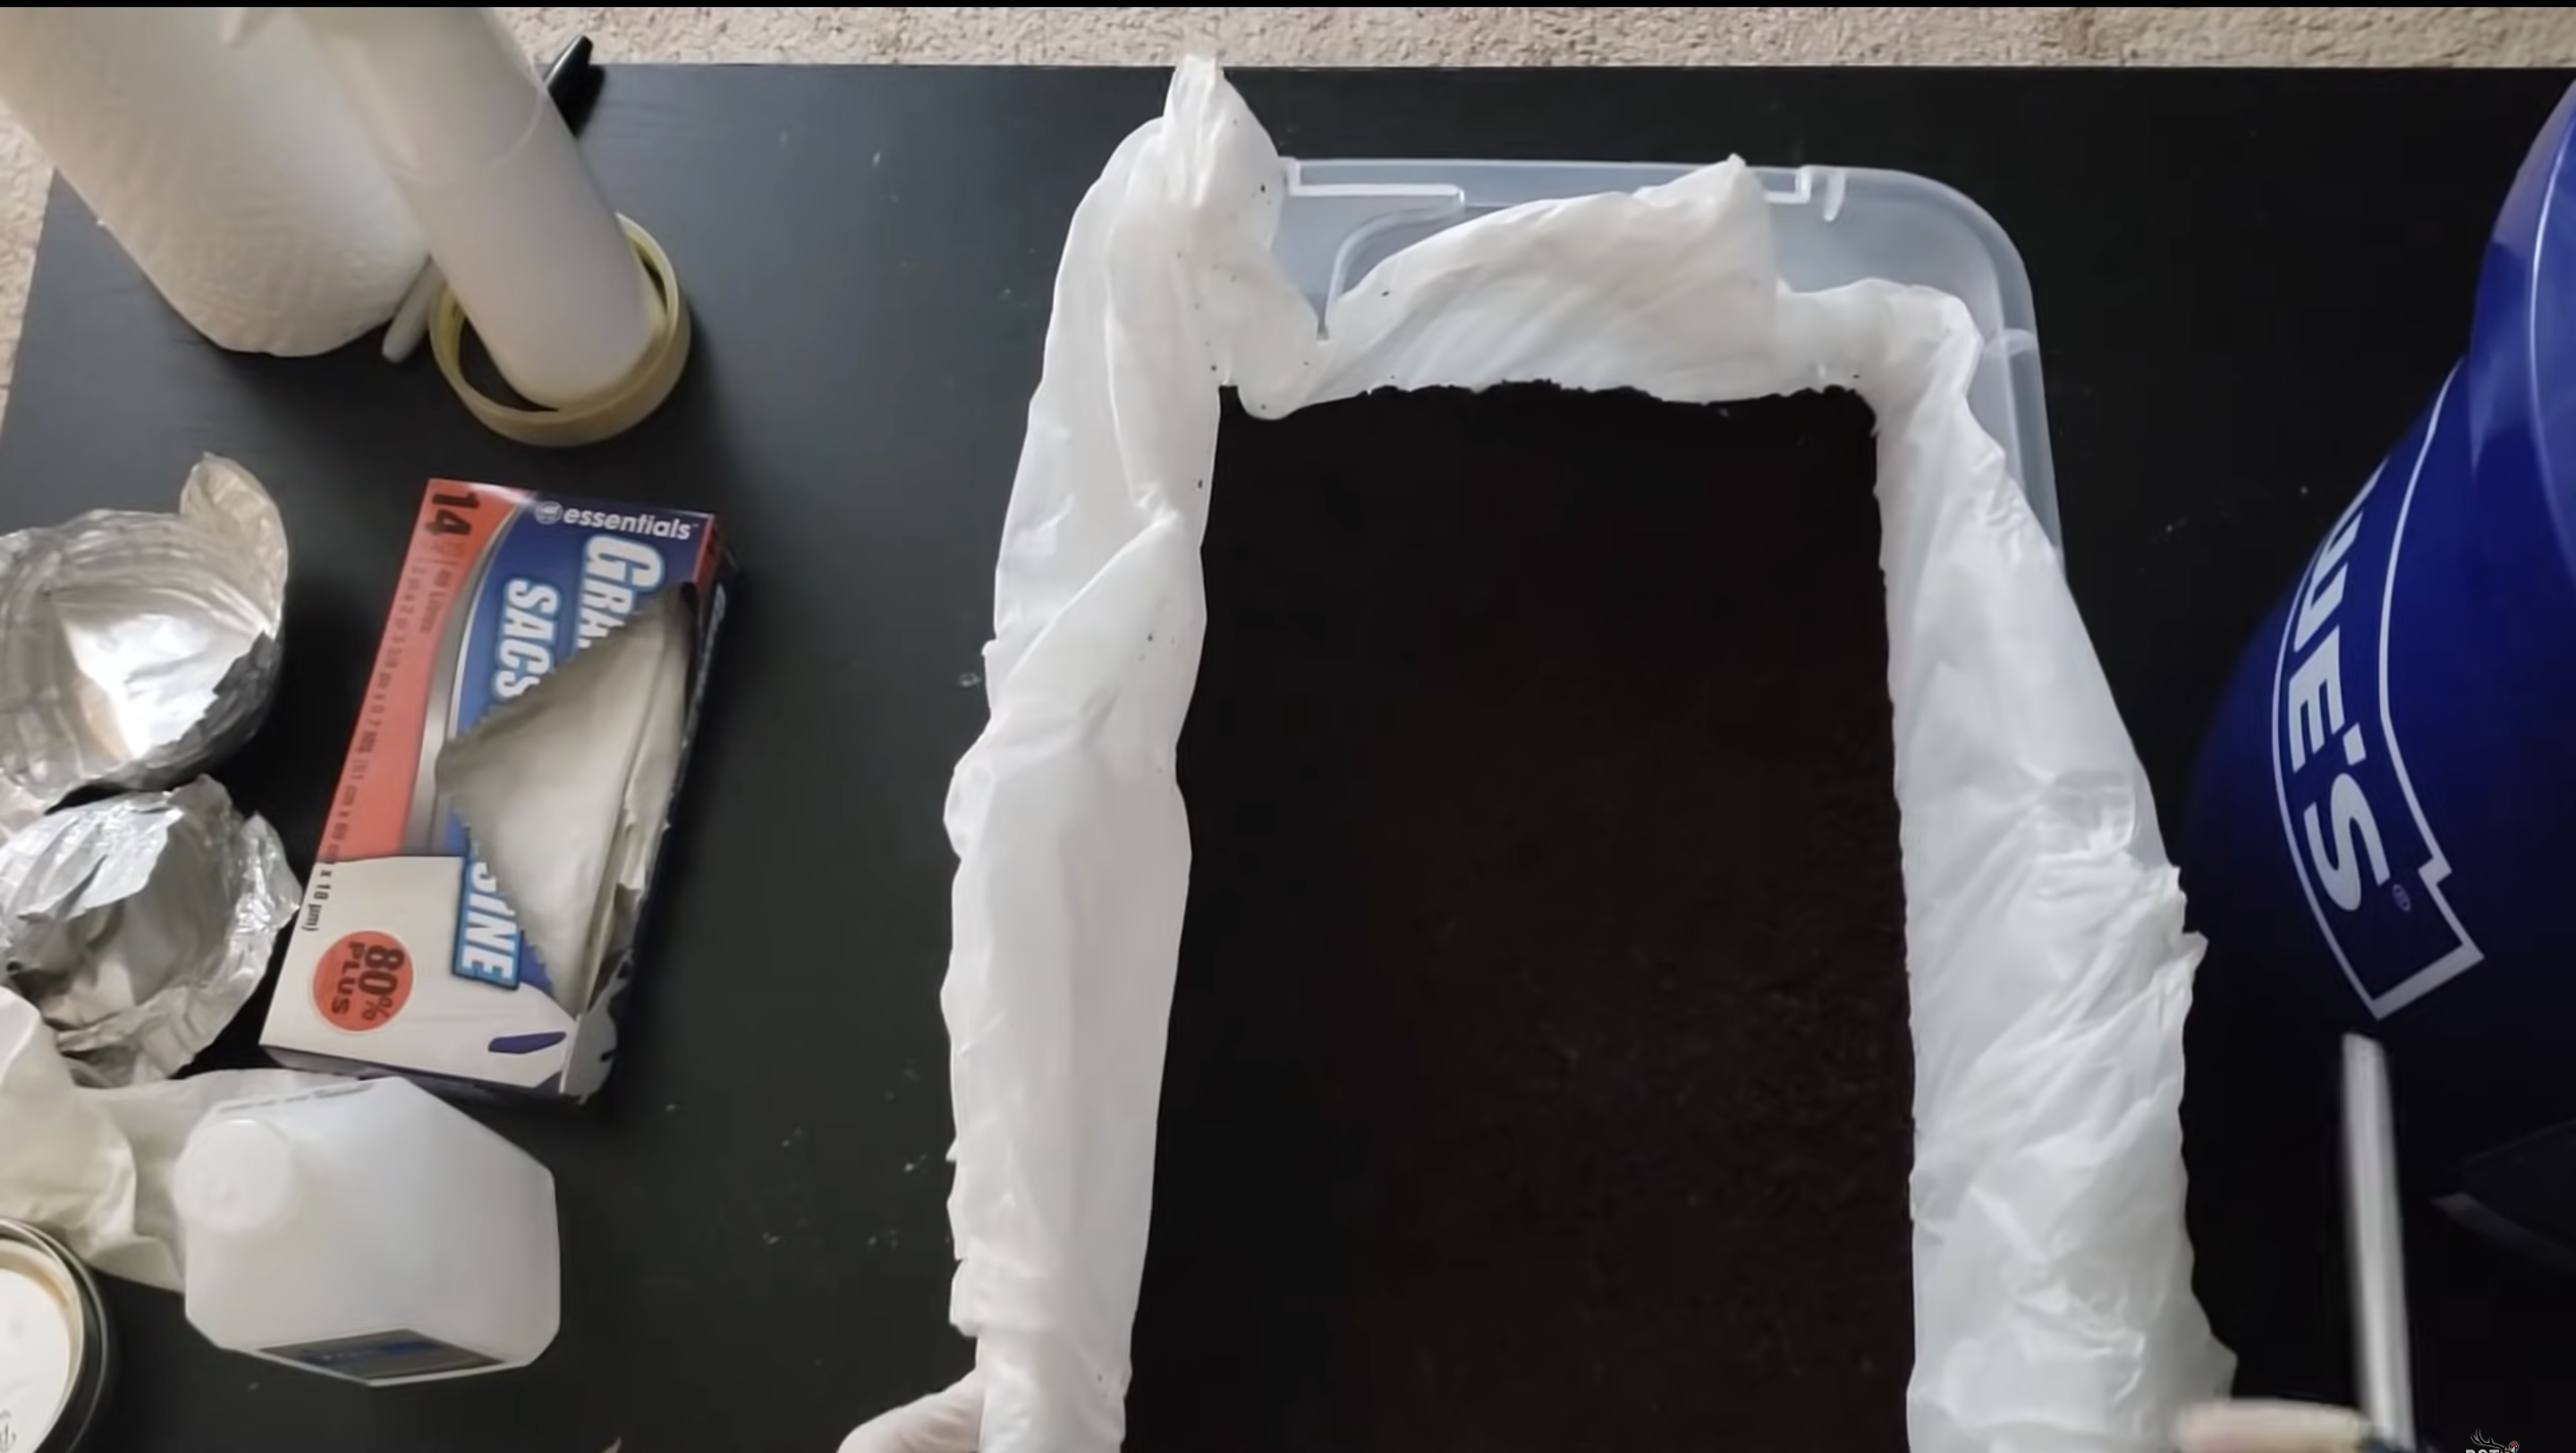
Mix the grain spawn with the substrate evenly with your gloved hands. I recommend using a swirling motion when doing this and ensuring you mix it evenly throughout, including the edges and corners. Then, lightly pack down the mixture and flatten it out to create a flat even surface. Add a thin layer (1/8 inch) on top of the substrate to cover all exposed grains and flatten and spread evenly like before. This marginally helps protect the grains from contamination during the colonization of the substrate.
Step 6: Liner Trim
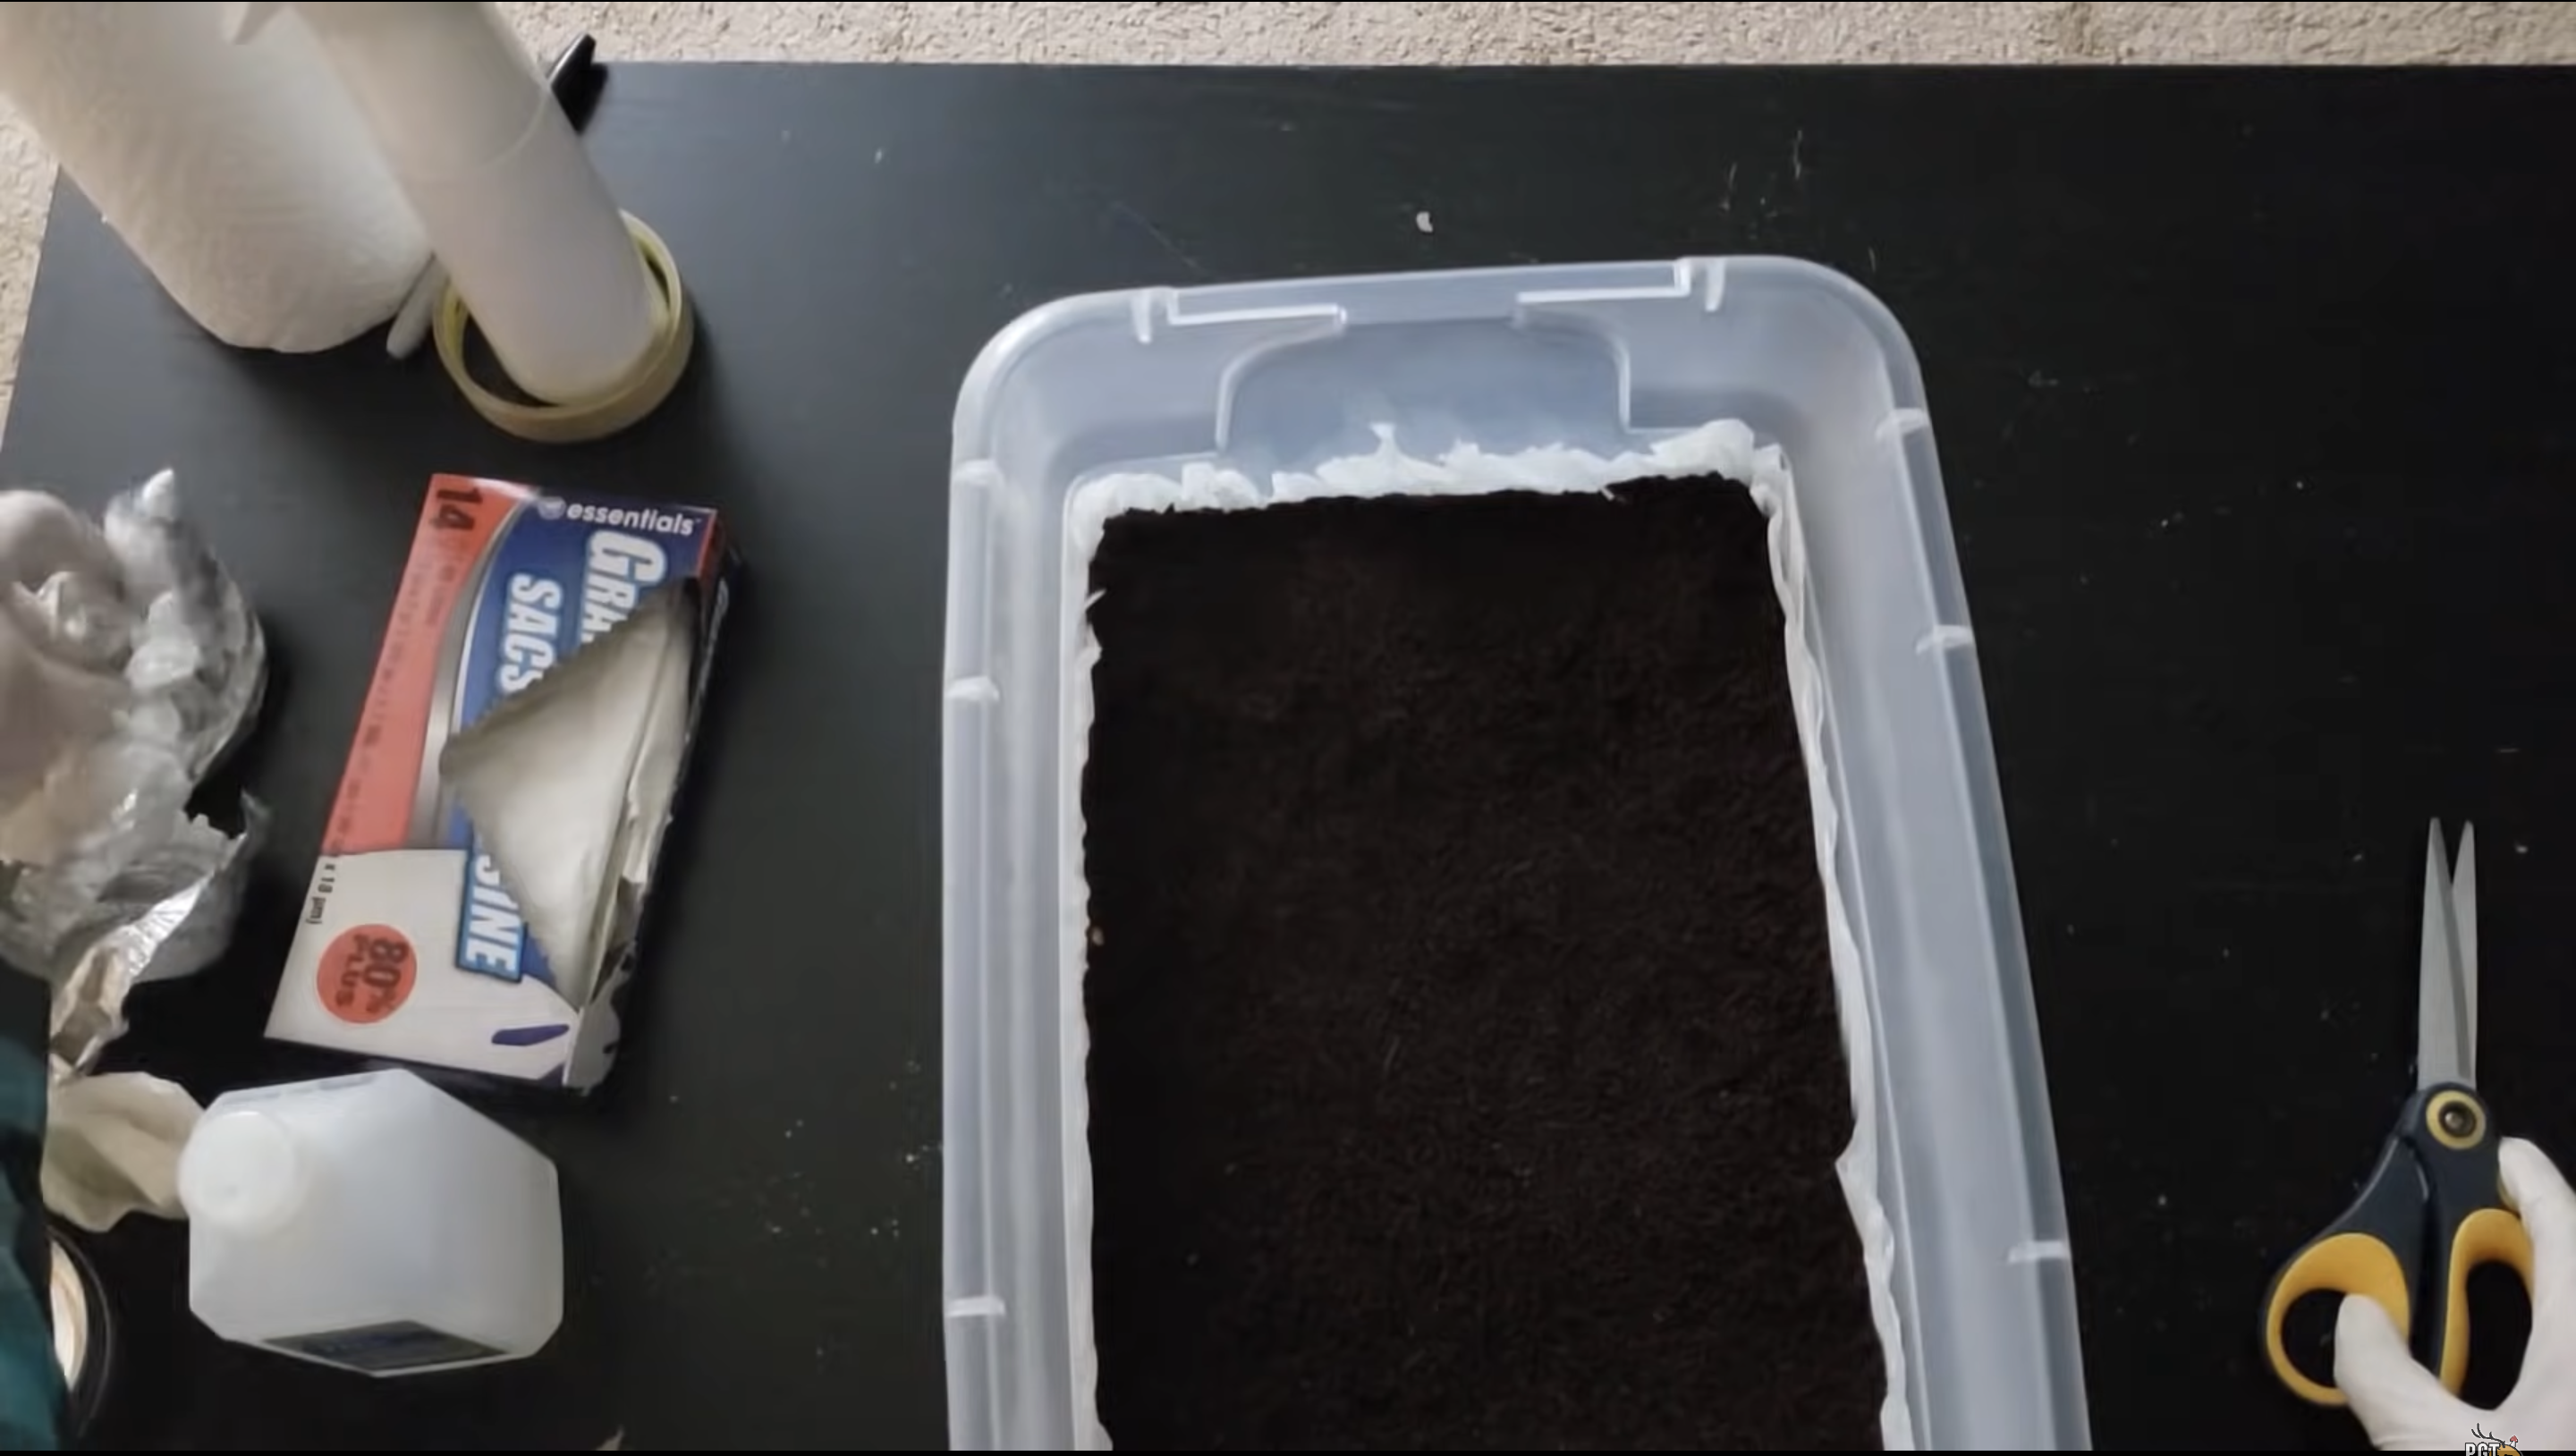
Trim the excess liner (trash bag) along the edges to keep it from going far past the substrate.
Step 7: Misting & Labeling
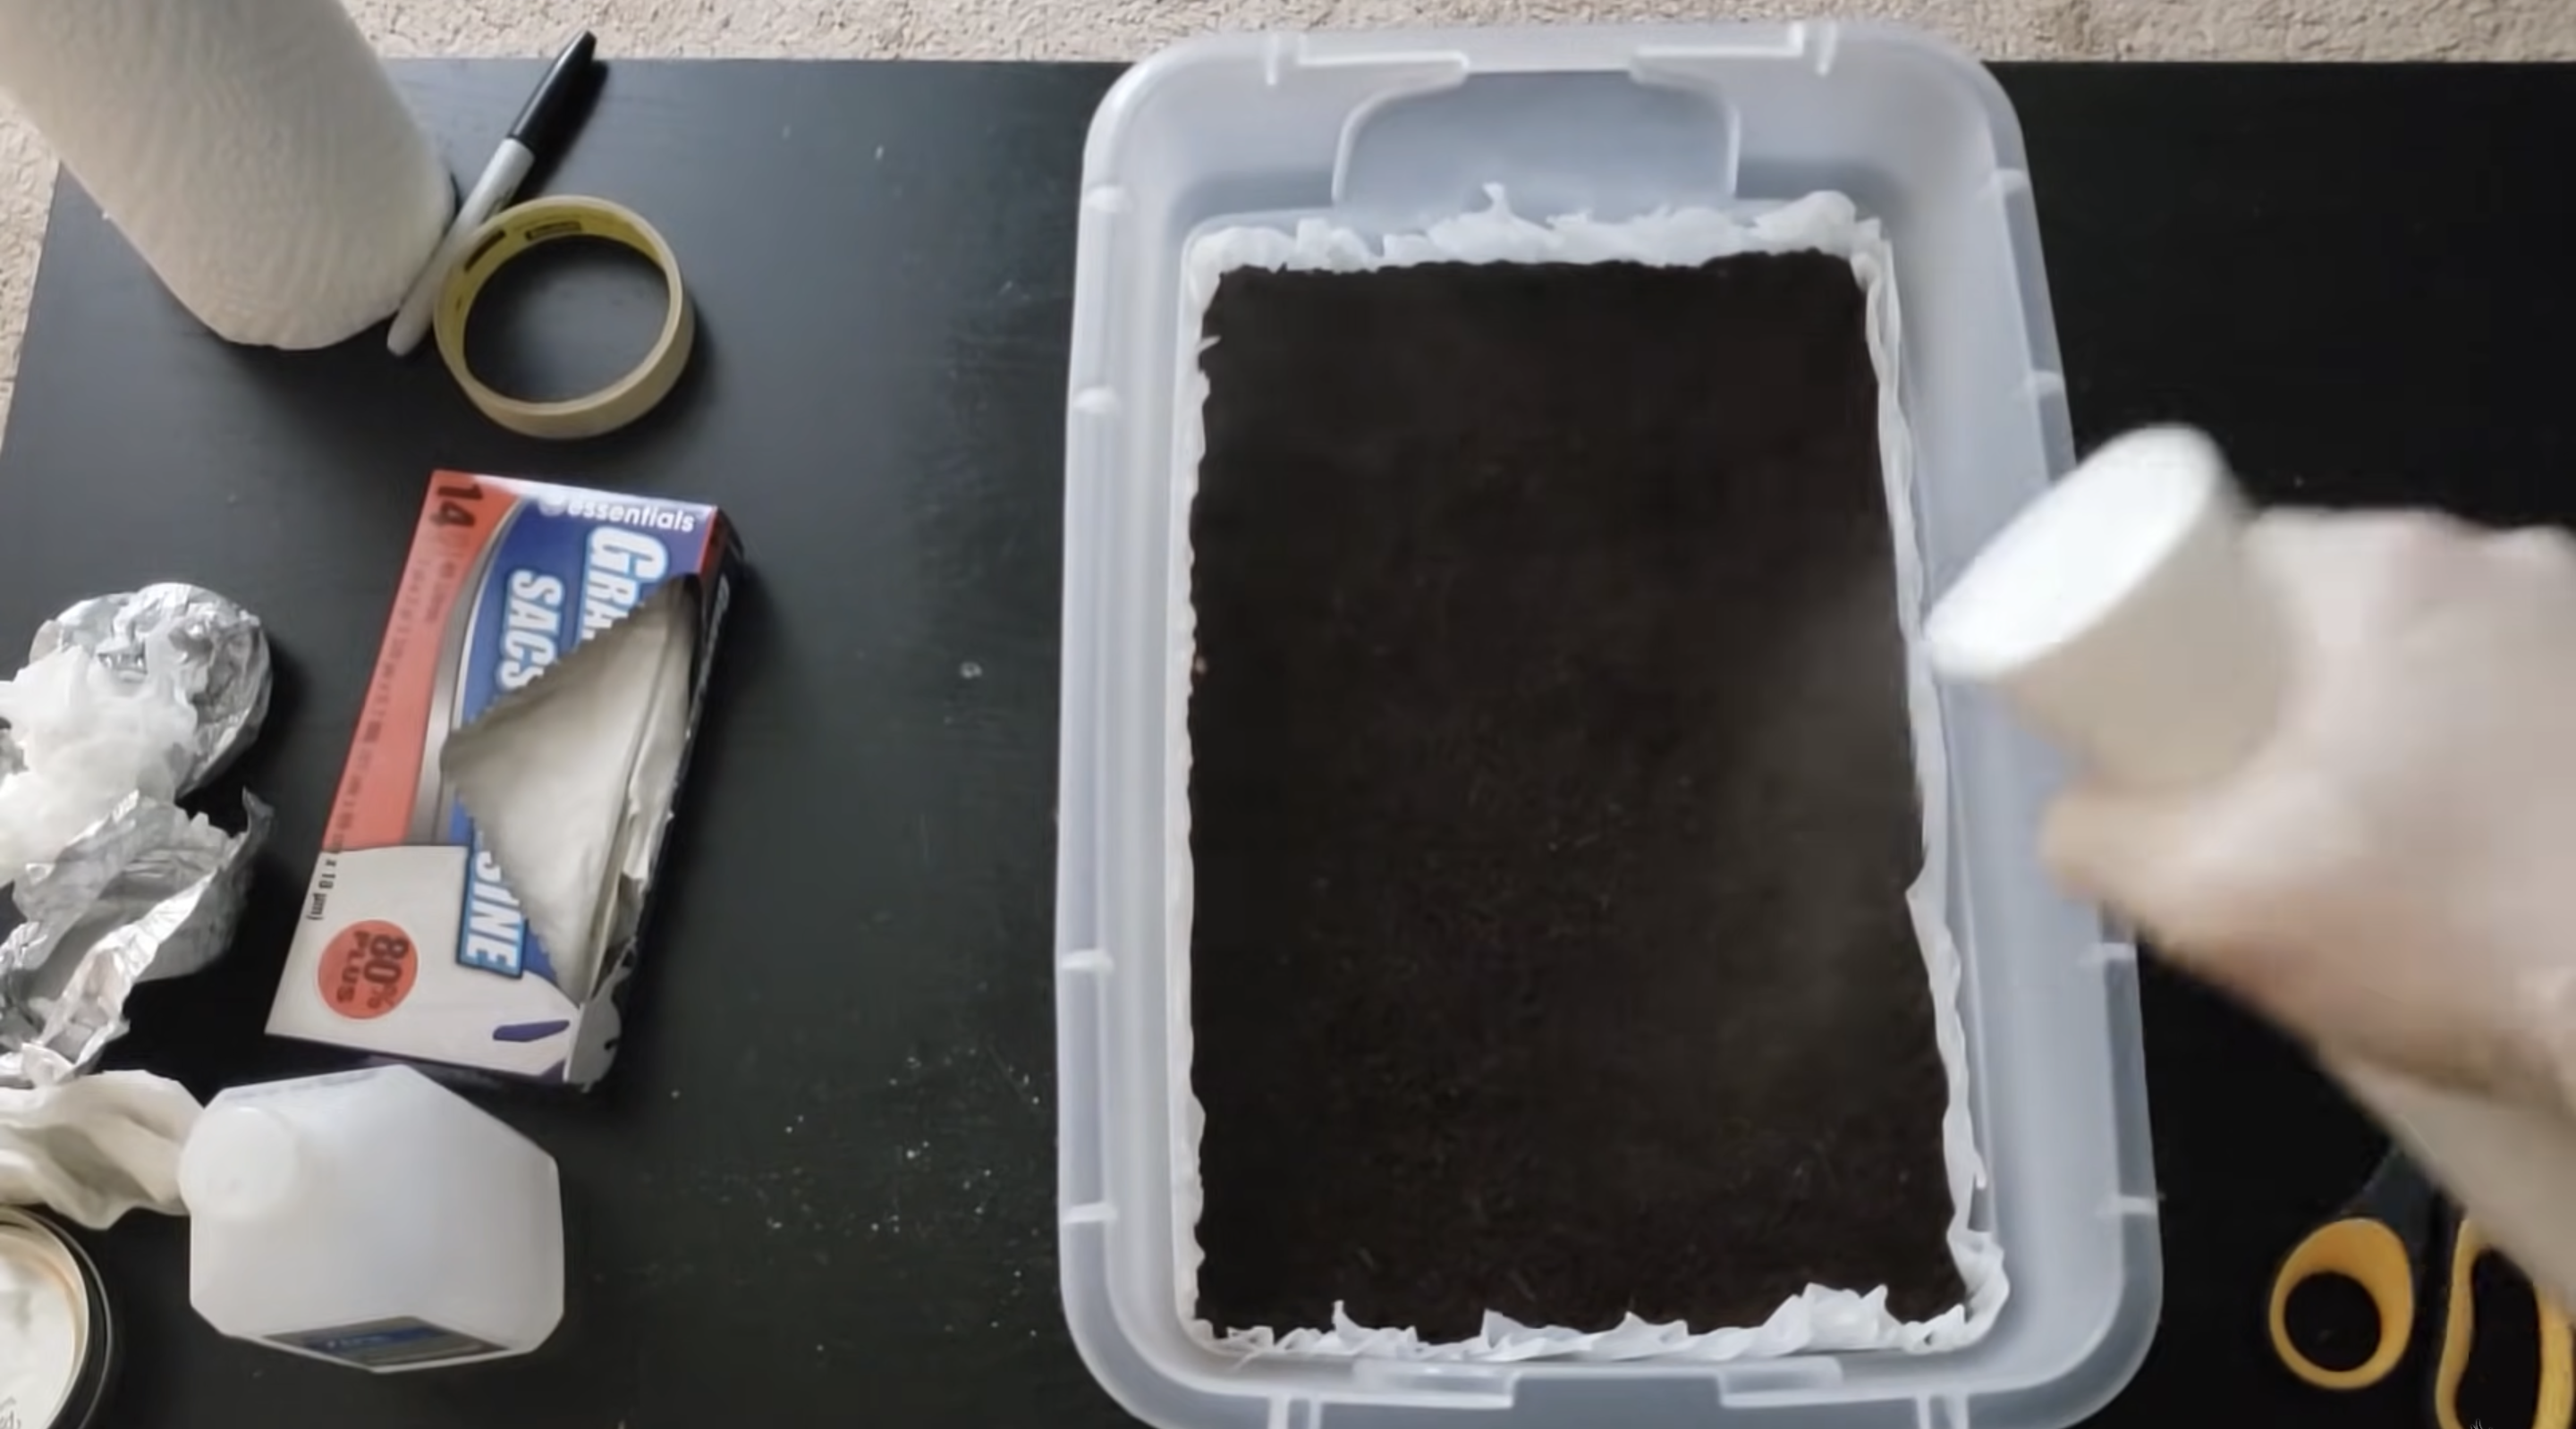
Before adding the lid to the container, add a label with the variety and spawn date to the tub. Then, mist heavily with a fine misting water bottle to create a high-humidity environment for your mushrooms.
Timeline & Care
It can take between 1-3 weeks for your substrate to fully colonize and begin pinning. If during this time your substrate/tub looks extremely dry you can add moisture via misting. However, if you did the misting step correctly you should not run into this. Once you see pins forming you should be able to harvest your mushrooms at their maturity in 1-2 weeks.
