Homemade Grain 🌽
Making your own grain may seem intimidating at first, but it is very straightforward and I find the process to be very enjoyable and therapeutic.
You will need the following supplies. While it may seem like a lot at first, these tools will be vital for many things in mycology and will last you a long time
Supplies
-
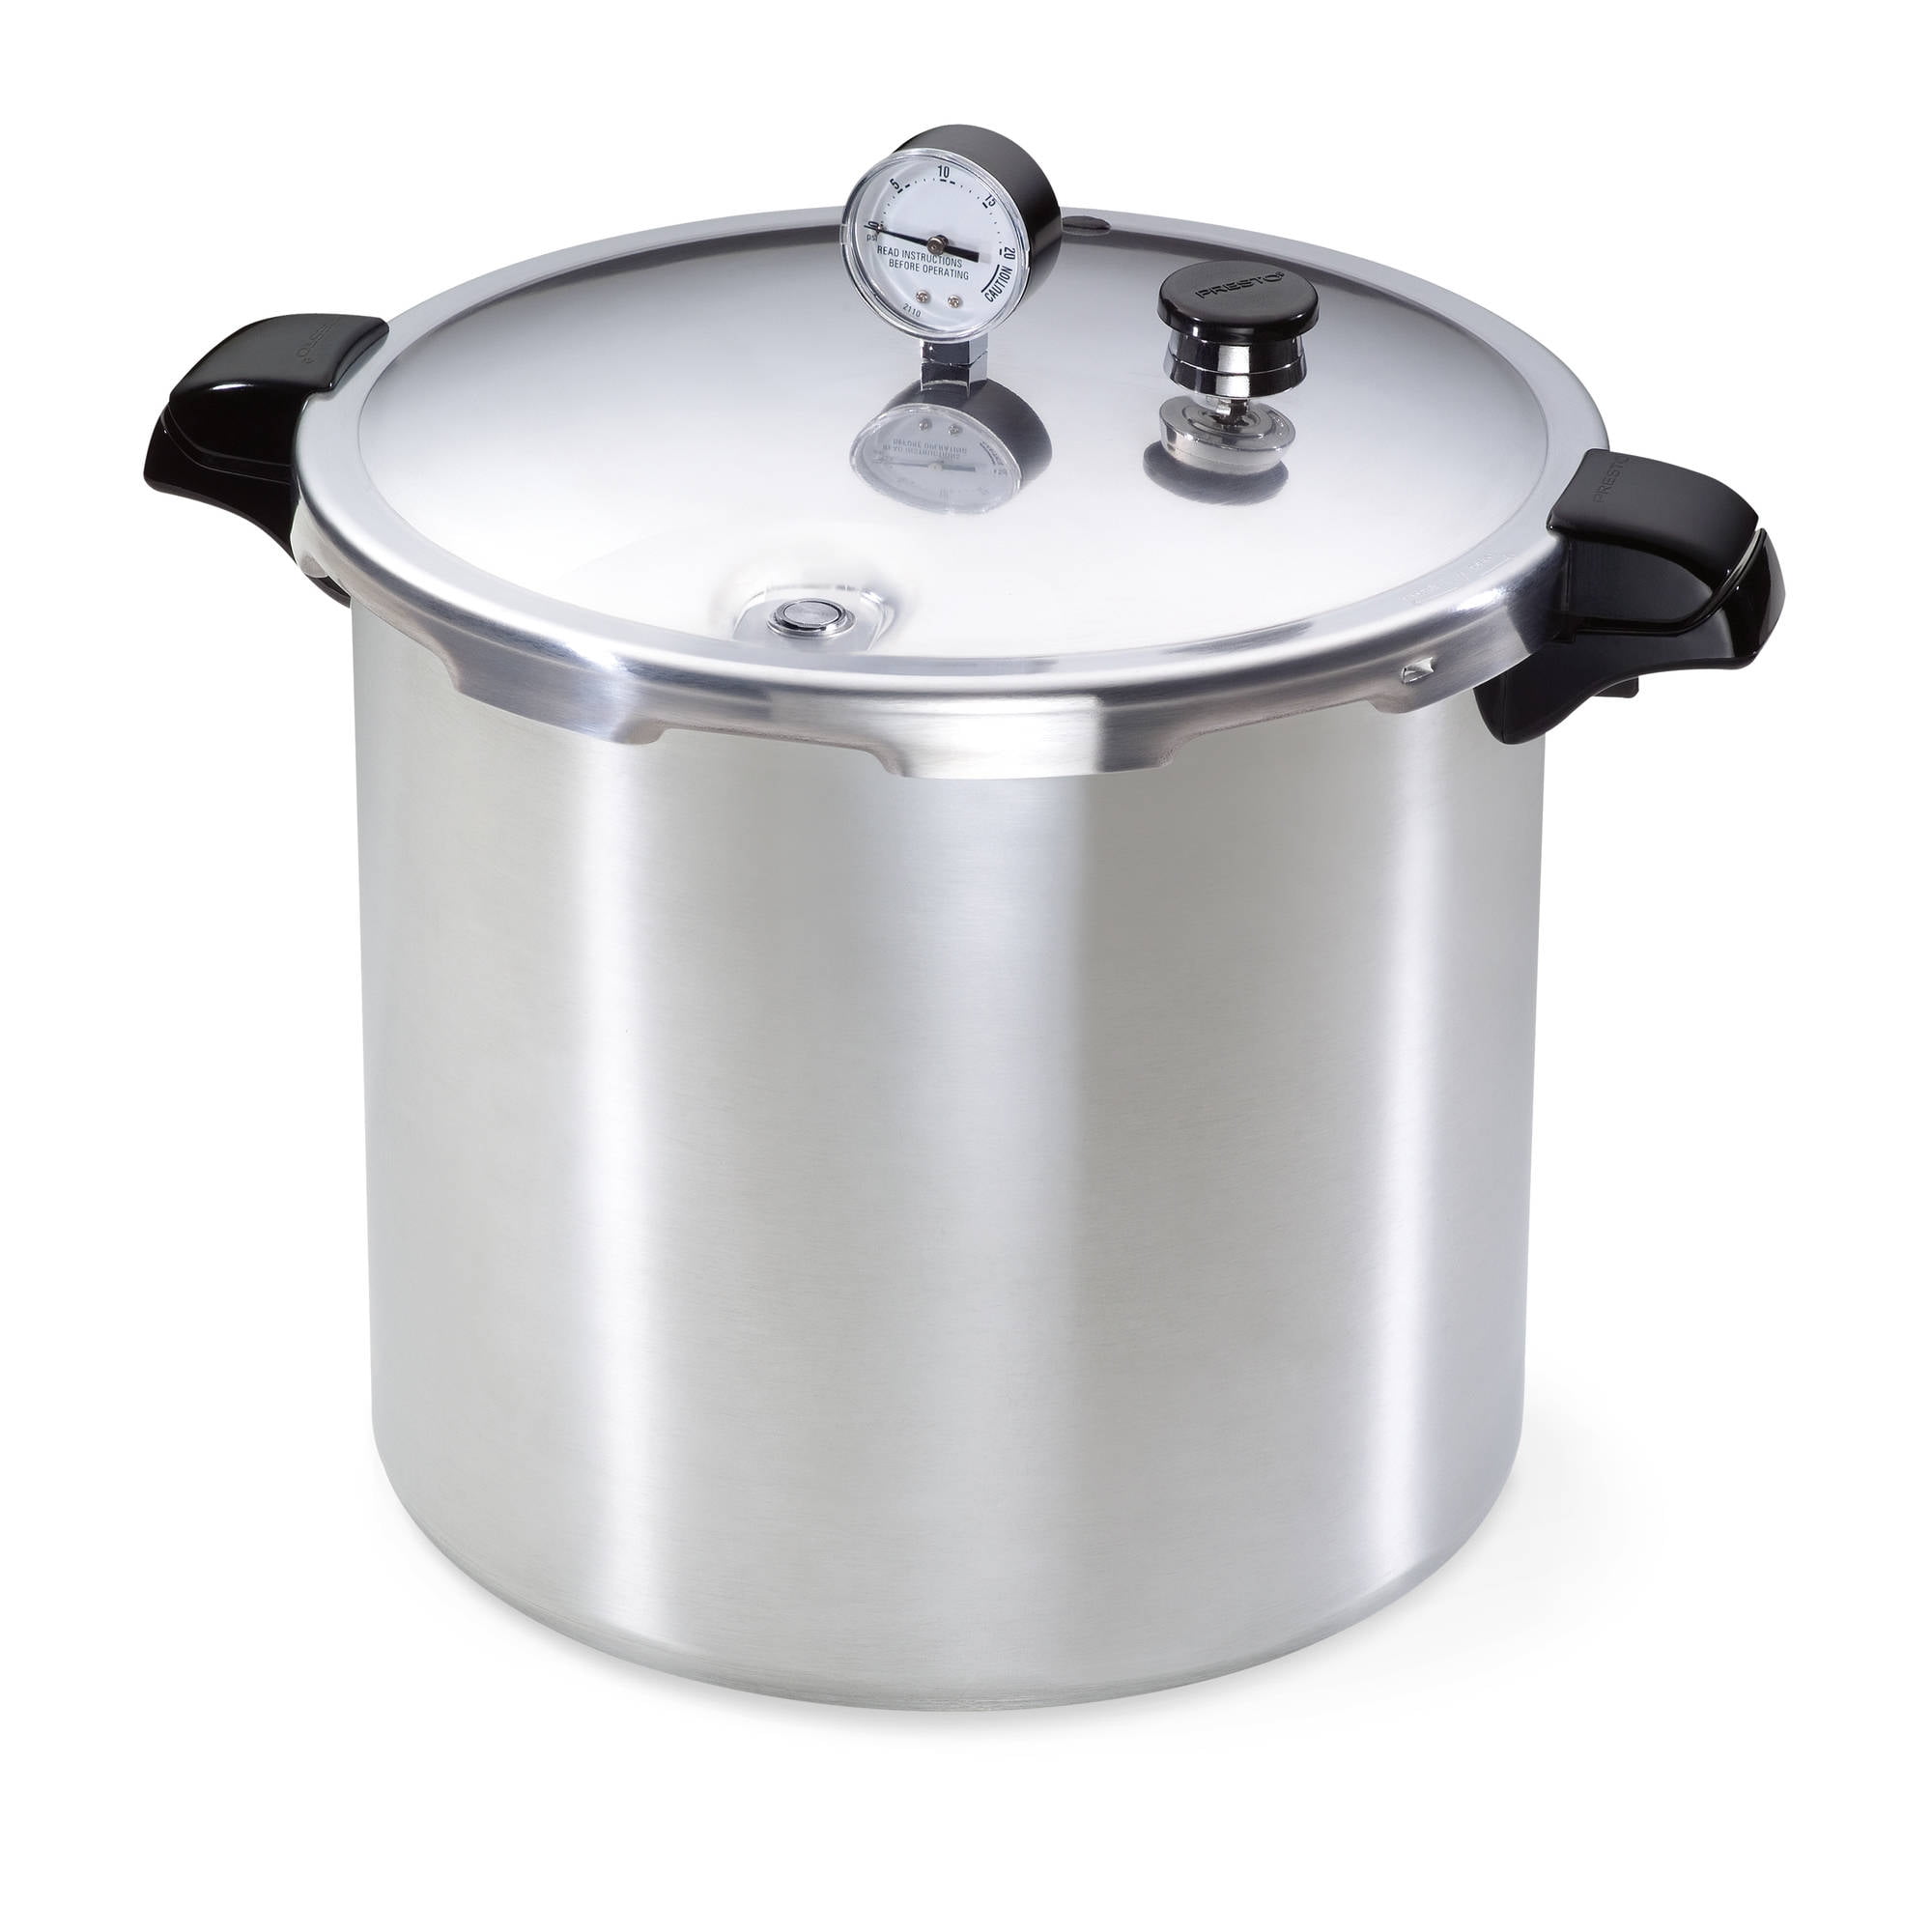
Pressure Cooker:
This will be used for sterilizing and potentially hydrating your grain. This tool can also come in handy down the line for things like Agar and Liquid Culture. I recommend a 16 or 23qt Presto pressure cooker. The larger of the two may be helpful in the future, but a 16qt is plenty big for starting out.
-
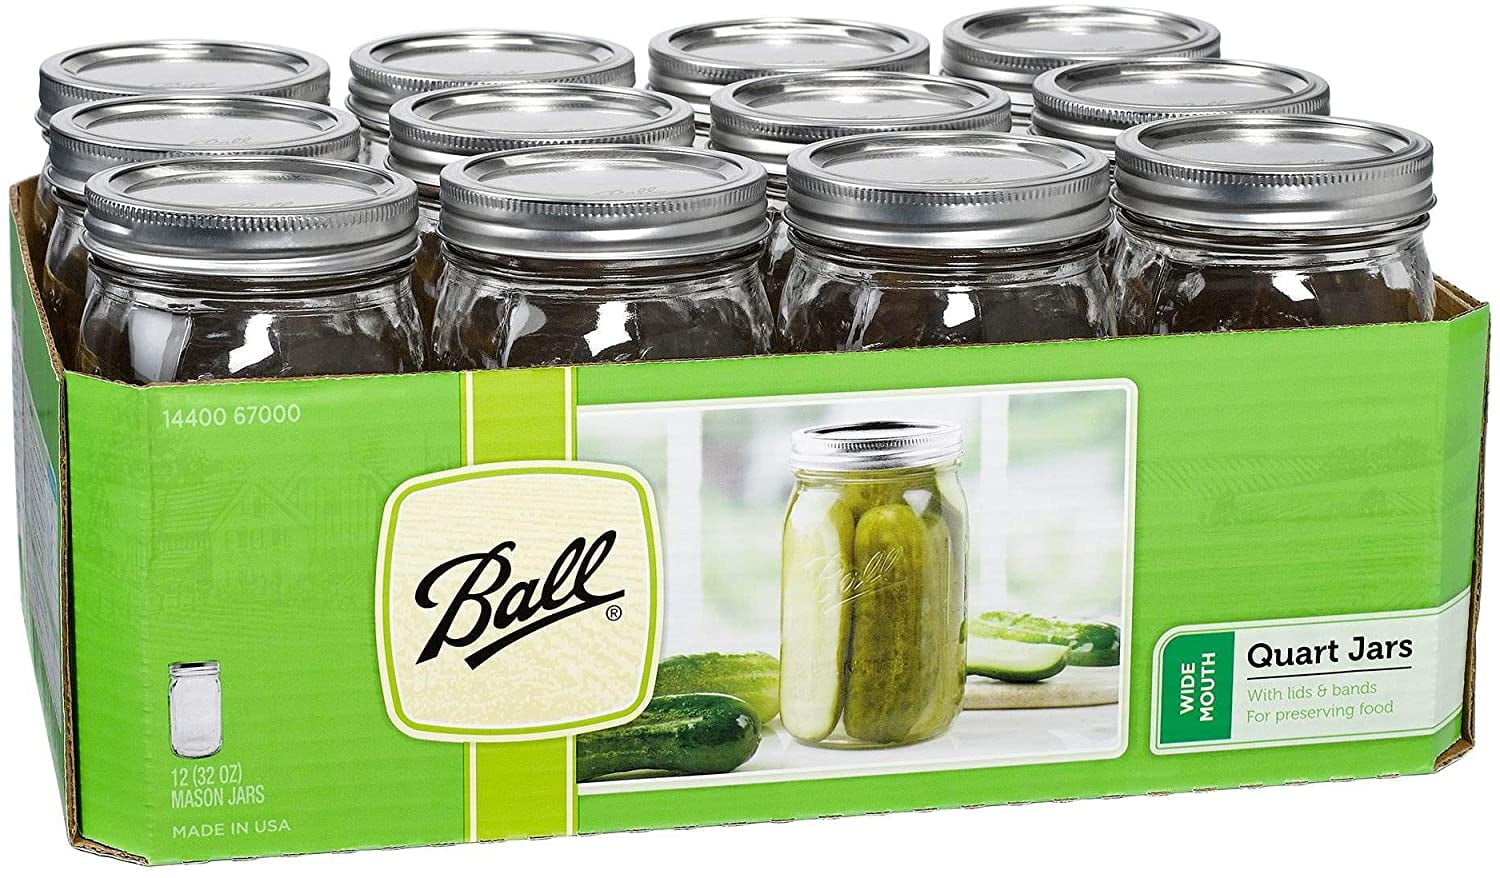
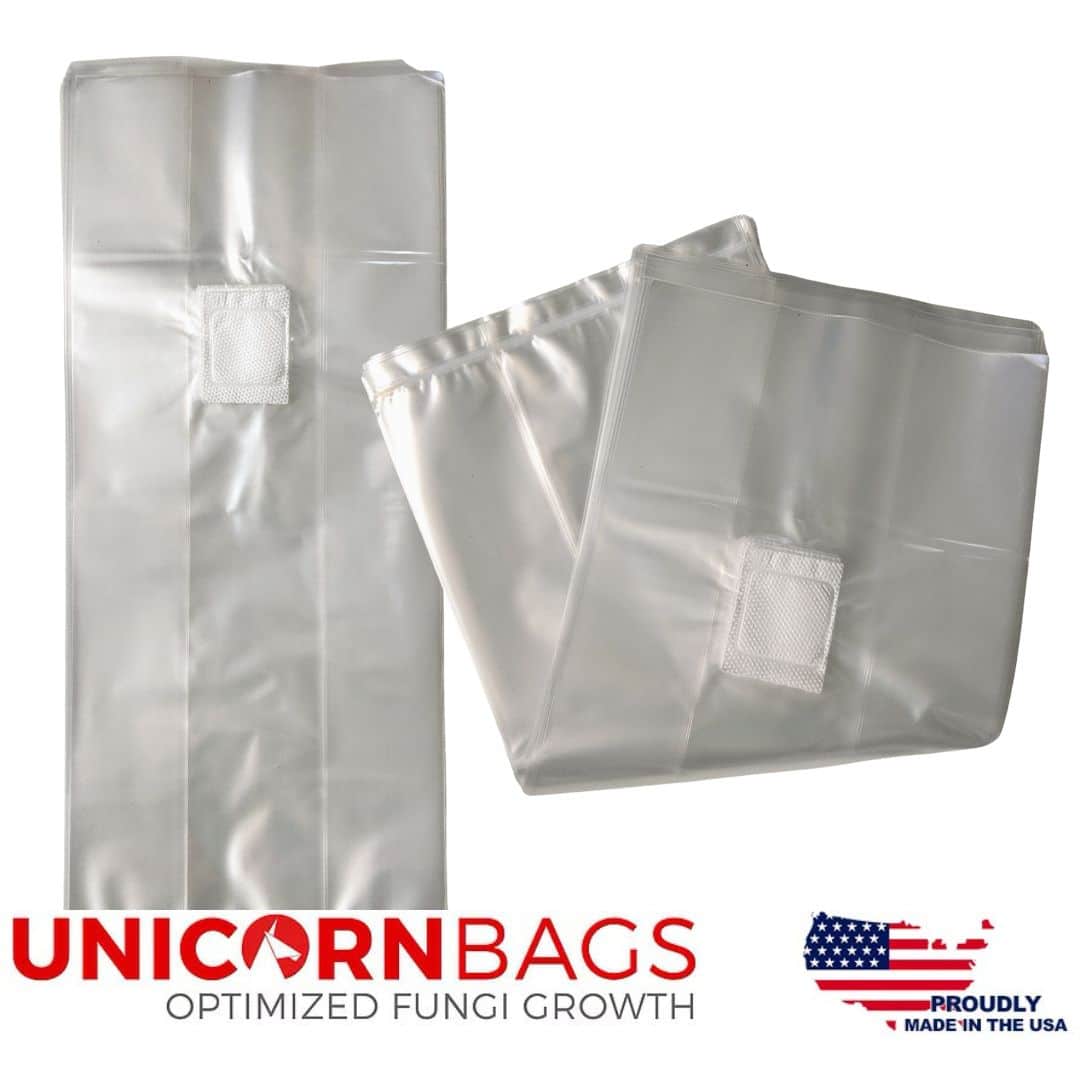
Mason Jars or Unicorn Bags:
These will be used for holding your grain during the sterilization & inoculation process. I recommend going with Wide Mouth 1 Quart Mason Jars. You can also use Unicorn Bags, but those require a bag sealer and take longer to sterilize.
Mason Jar Lids:
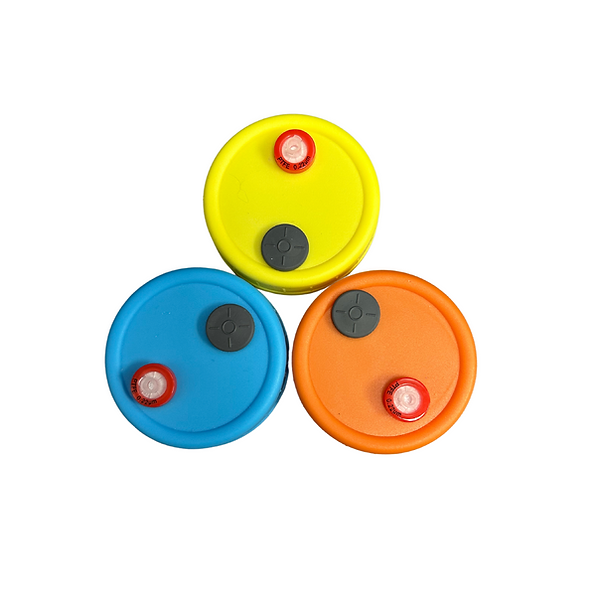
To start, I recommend keeping things simple and using the lids that come with the mason jars. No need for any modifications. In the future, or if you would like to now you can buy or create your own modified lids.
Choosing a grain
Now that you have your jars & pressure cooker, you need to choose a grain to work with. There are many choices available and all work great. Rye, milo, wild bird seed, brown rice, and popcorn are all common varieties and will all work relatively the same. However, in this guide, we are going for simplicity and beginner-friendly, so I recommend working with something that is food grade as they are usually cleaner out of the box. I prefer popcorn, but brown rice (commonly referred to as Broke Boi Tek) is another great alternative.
If following me, start out with 4 lbs of raw popcorn. They sell 2lb bags at Walmart like below.

Hydrating the grain
Once you have chosen your grain, you need to hydrate it. Mushrooms are mostly made up of water, and mycelium needs it to grow. So, if you just try inoculating the dry grain the mushrooms will have no moisture to feed off of. To fix these, we hydrate the inside of the grain with water. There are different methods of doing this, but if using popcorn as I recommended you want to do a forced hydration. If using another grain, look into specific hydration instructions for that grain or also check out the No Soak No Simmer method.
For forced hydration of popcorn, you want to
- Add the 4lbs of raw popcorn into your pressure cooker.
- Cover that with 3 inches of water.
- Pressure cook @ 15 PSI for 30 mins
Philly Golden Teacher has a great video to walk you through this process. Note that he uses corn syrup & vermiculite for drippy corn which speeds up colonization but you can skip those additions if you desire and just hydrate the corn.
Drying the grain & Loading Jars
Once the grain is hydrated and the pressure has naturally released from the pressure cooker, you want to dry the grain. You want the outside of the grain to be relatively dry, but the inside still moist if you were to crack open a kernel. To do this:
- Open the pressure cooker once pressure has naturally released
- Pour contents into a strainer
- Let sit for 30 mins - 2+ hours depending on your home’s humidity.
Note: During this process, it does not have to be a sterile environment as you will sterilize it in the next step. However, you do not want to have it in a dirty environment where debris will fall on the grain. I will turn off fans and AC, and try to stay out of the room when it dries. It is overkill but to me the cleaner you try to be during the whole process the better.
Sterilizing the grain
Now that the grain is properly hydrated and dried, it is time to load the jars and sterilize them.
- Load approx 8 mason jars 3/4 of the way full with the grain.
- Put on the lid to the jar. If using unmodified lids place them upside-down to allow air exchange and cover with tinfoil.
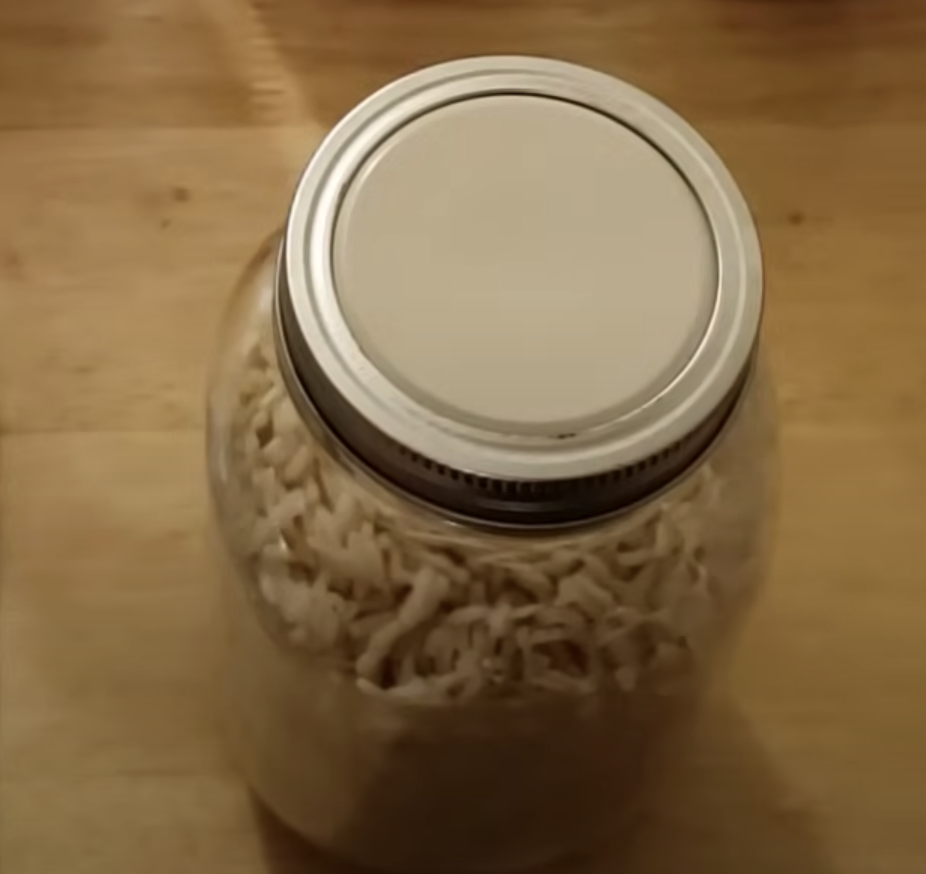
- Add 3.5 quarts of water to pressure cooker
- Pressure cook at 15 PSI for 90 minutes. If using Unicorn bags instead of jars cook for 120 minutes.
I highly recommend watching PGT’s Drippy Corn video if you have never done this before. He shows every step of this process in a short video.
What’s Next?
Now that you have your grain ready, we can move on to inoculation!
